
In this post I’m going to discuss a key effect for ReShade that helped me fixing one of the few issues left unsolved in my last released preset. In particular, I’ll be covering the topic of white balancing using a curve.
If you are new to this website and just landed here, catch up with everything there is to know to follow this post here.
The issue
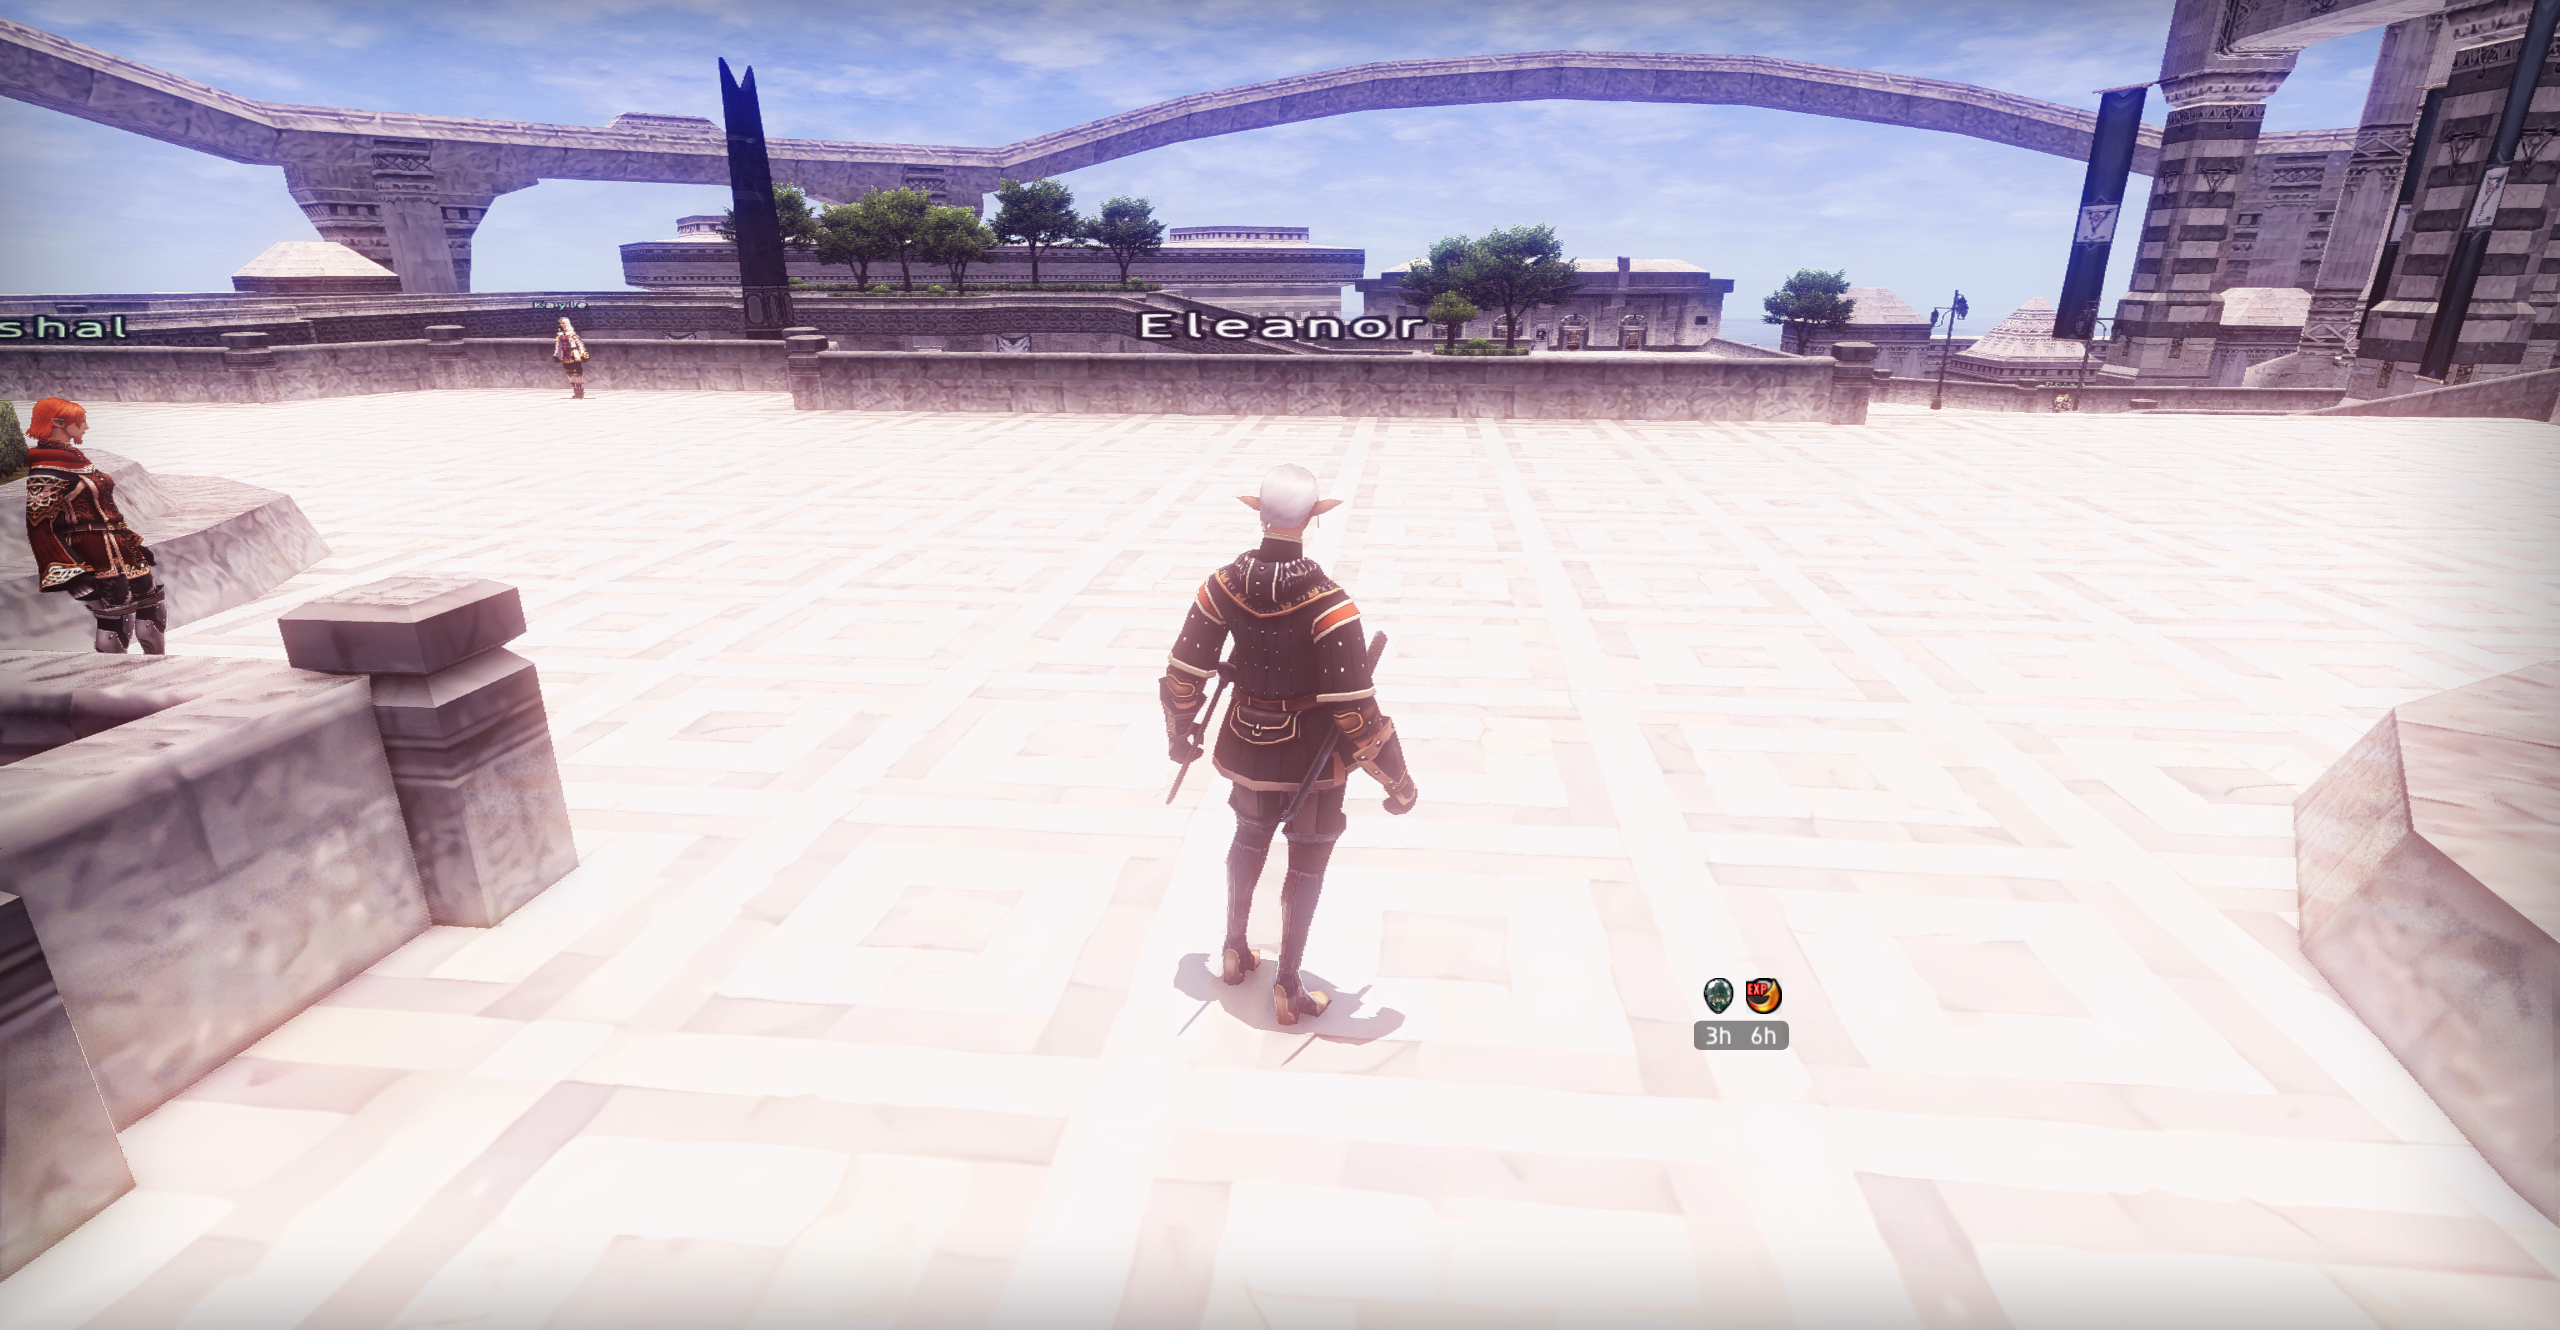
If you ever had the chance to test my FFXI ReShade Preset 3, you might (or might not have) arrived at the conclusion that, overall, the list of effects included in that is doing its job fairly well. However, I’m pretty sure we can agree that, when it comes to certain “environmental instances”, some obvious issue arise in what we could naively describe as a “brightness problem”. In fact, while in most areas everything looks alright or even great, in zones that feature a large amount of very light textures (e.g. Valkurm Dunes, Cape Teriggan, Ru’Lude Gardens and more) and under direct sunlight, suddenly the effects appear to be “too much”.
A quick disclaimer…
One thing to keep in mind diving deeper into this topic is that, considering the effects included in Preset 3, we should be aware that the main goal of such preset is to model the behavior of light in order to feature certain aspects of light perception.
This means that, what we are looking to achieve here is not the image adjustment for a great photo and, when there’s a big white floor at 1:00 pm with clear weather we actually expect a higher perceived brightness from such surfaces. Without auto white balance (AWB) or manual tweaking, our pictures irl would suffer from the same issue at a fixed exposure time.
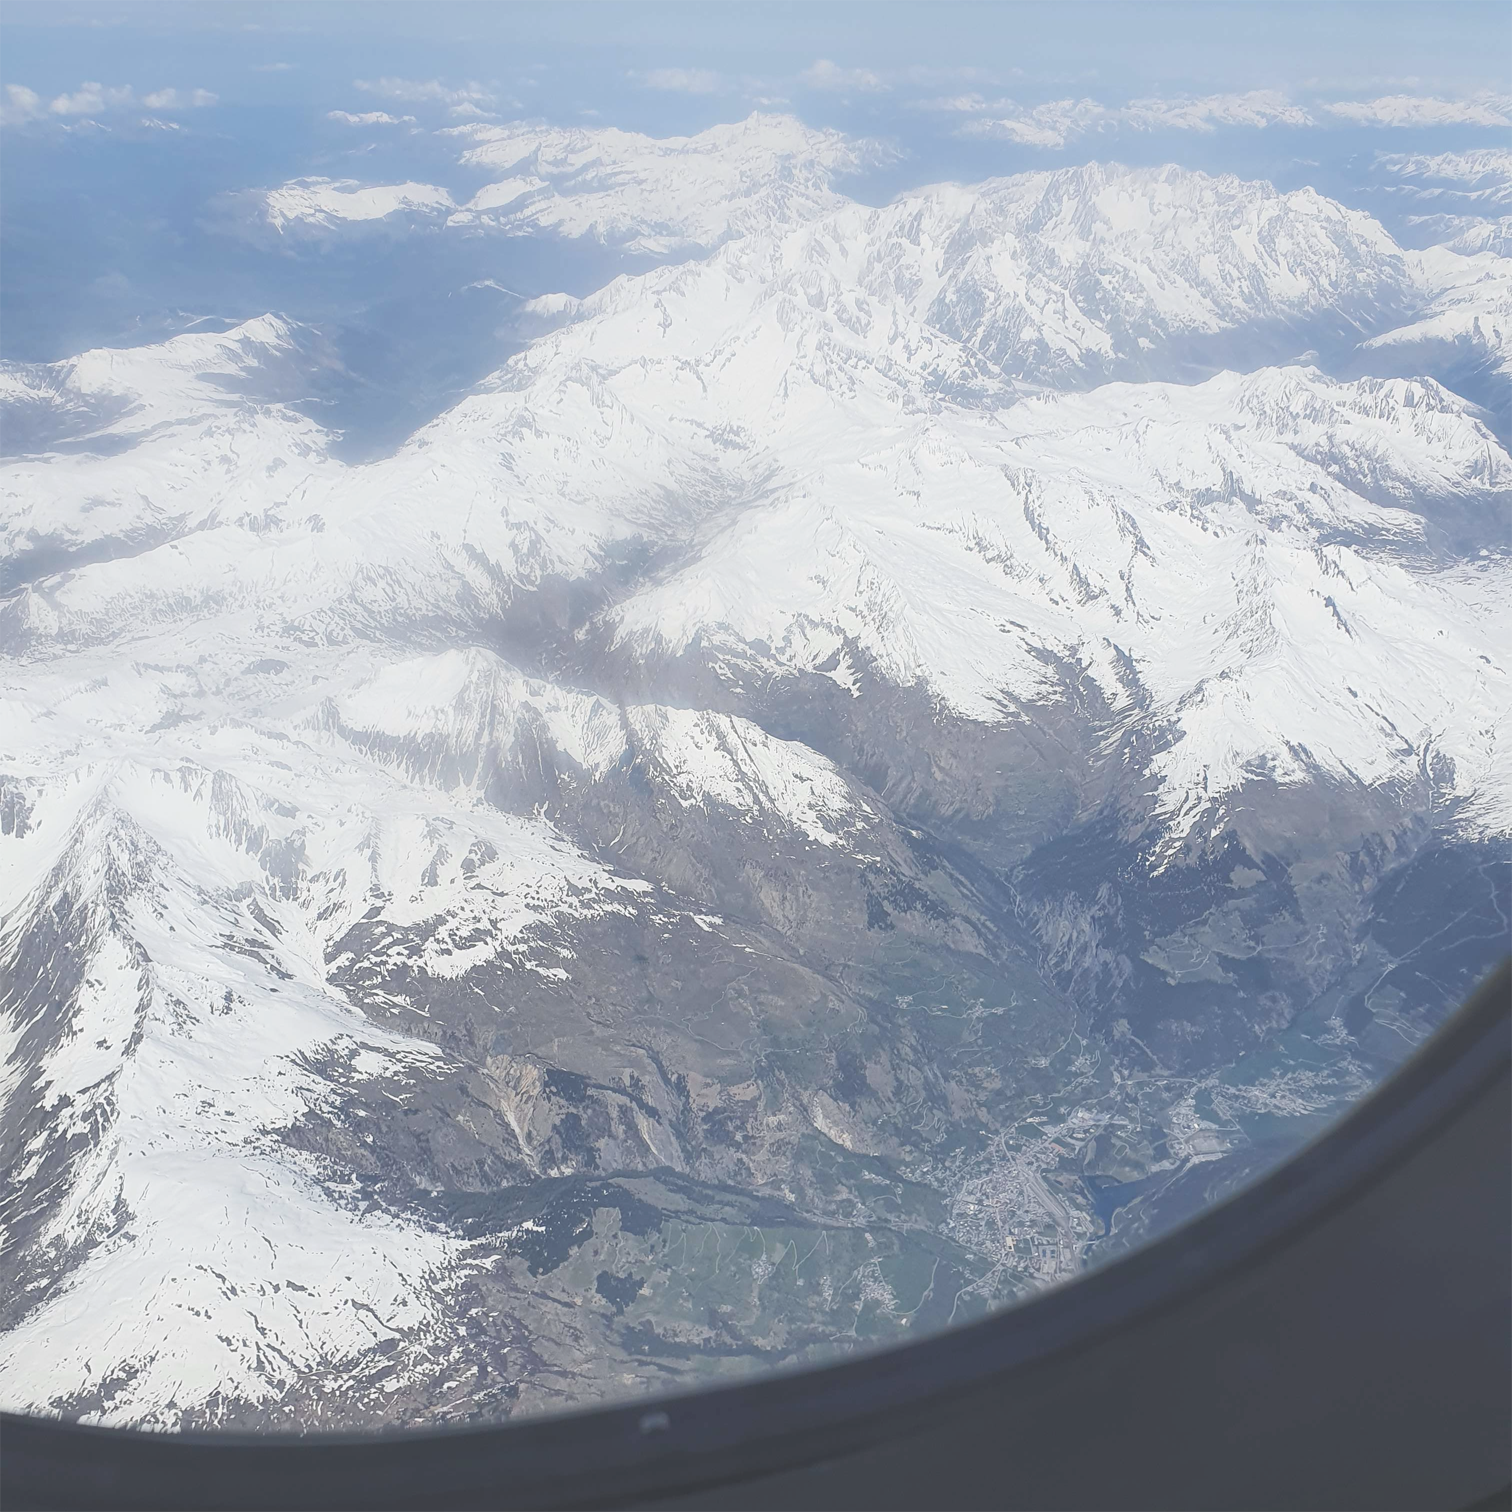
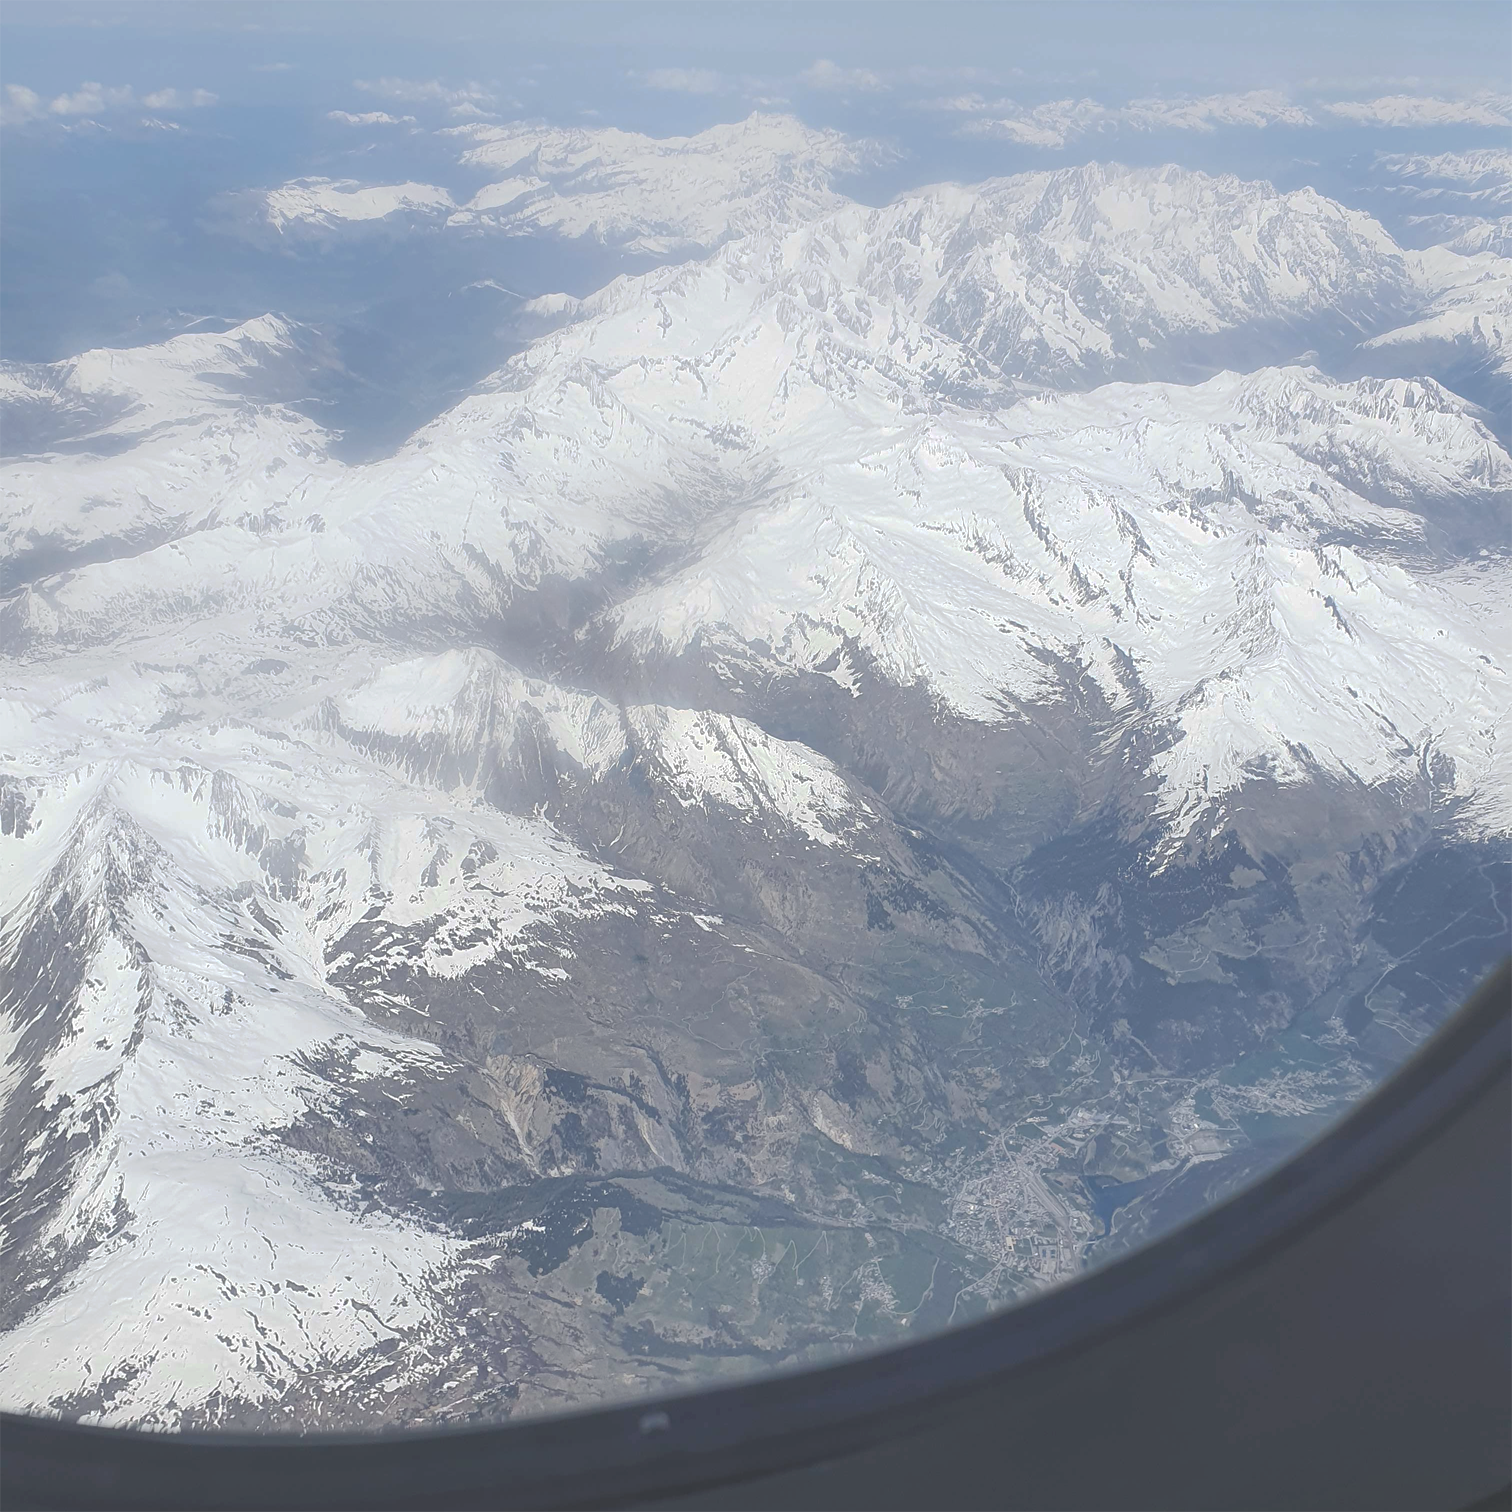
Below, an example from an old photo I took back when smartphones weren’t that smart (boomer detected! 👵) and, as you can(n’t) see, a lot of details on the top of the mountain are just lost to the excessive “brightness” of the snow caused by the reflection of direct sunlight.
After this punctualization we can go back discussing our issue.
The thing I find unique about the nature of this issue is that it can’t be fixed by simply tuning down the image exposure or any other image adjustment that is applied as the image as a whole (e.g. brightness, contrast, etc.).
To understand why this is the case, we will examine what happens to a certain pixel of the image, when the effects are applied, depending on the strength of these.
Let’s take three cases:
- Case A: a pixel with a dark color.
- Case B: a pixel with a lighter color.
- Case C: another pixel with a lighter color but visually different than B.
As many of the effects in the preset stack up additively and are often thresholded by their lightness, darker pixels such as A are barely affected and therefore tend to preserve their “identity” when compared to other darker pixels. In the case of B and C however, because of the stacking, they end up being pushed towards the color white (i.e. maximum R,G,B) with the result that the entire gamma of lighter colors are “flattened” in a smaller range of possible colors all very close to white.
Once we figured out what’s happening the solution needed becomes obvious: we need to balance the whites curve.
White Magic
To achieve our final goal, we’ll be looking at a new effect called PD80_03_Curved_Levels.fx.
Long story short, it’s your classic RGB curve adjuster for pictures but we’ll be using it equally on all RGB channel, hence, the whites curve!
To keep this already too long post short, I’ll go straight to the solution I found and briefly discuss how it works.
The curve that I found to better fix the image in those heavily bright conditions is this:
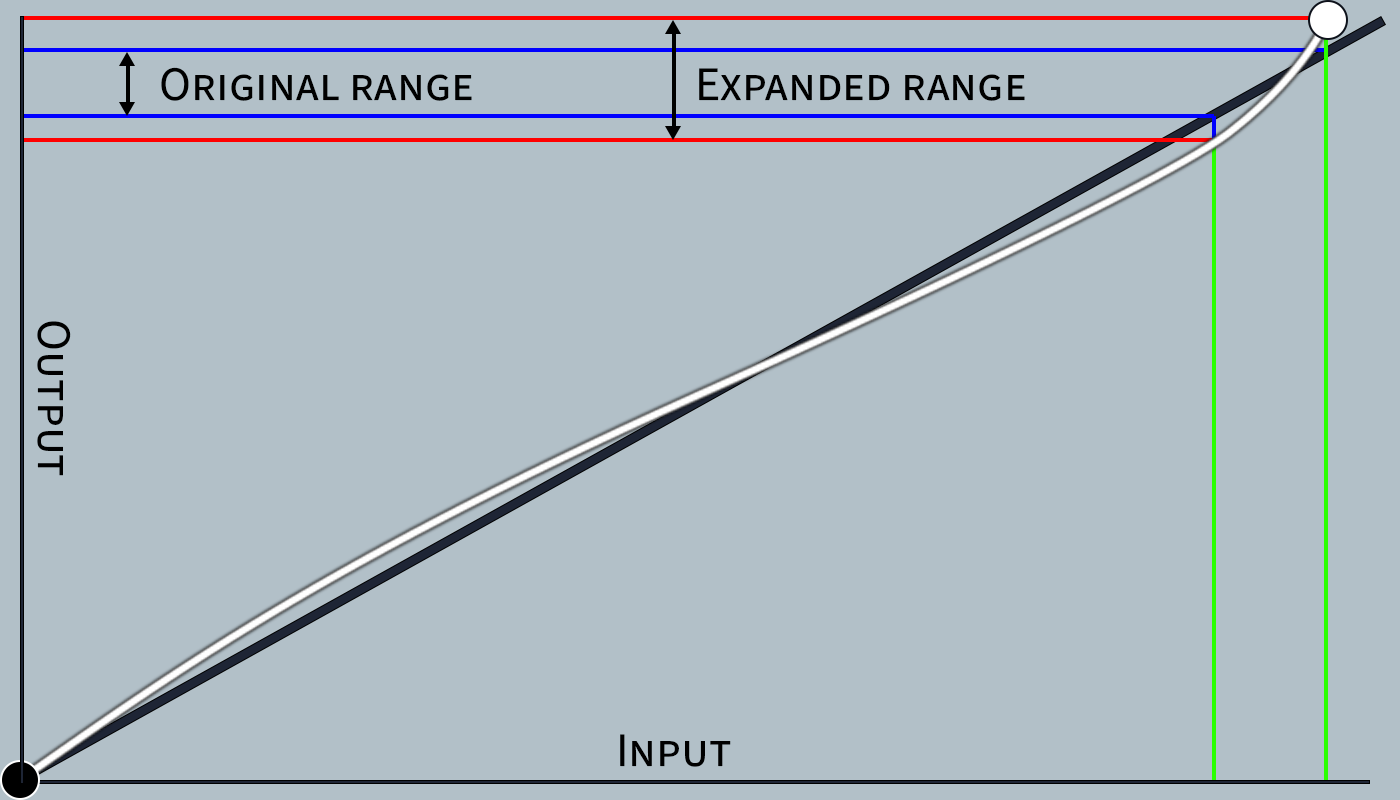
As you can see, the adjusting curve (white line) flexes before reaching the higher range of colors close to white going lower than the original picture balance (black line). This translates in the same range taken from the input axis, to a wider range of mapped colors in the output, effectively de-flattening colors at higher range of lightness. The white point (white circle), is moved towards the left of the top-right corner and as a result compresses the input colors making the very edge of the range translate directly into white. The overall result is that, with the new remapping using the curve, lighter color approaches white faster, which gives a nice contrast with the darker colors, but in the process are mapped over a wider range of colors.
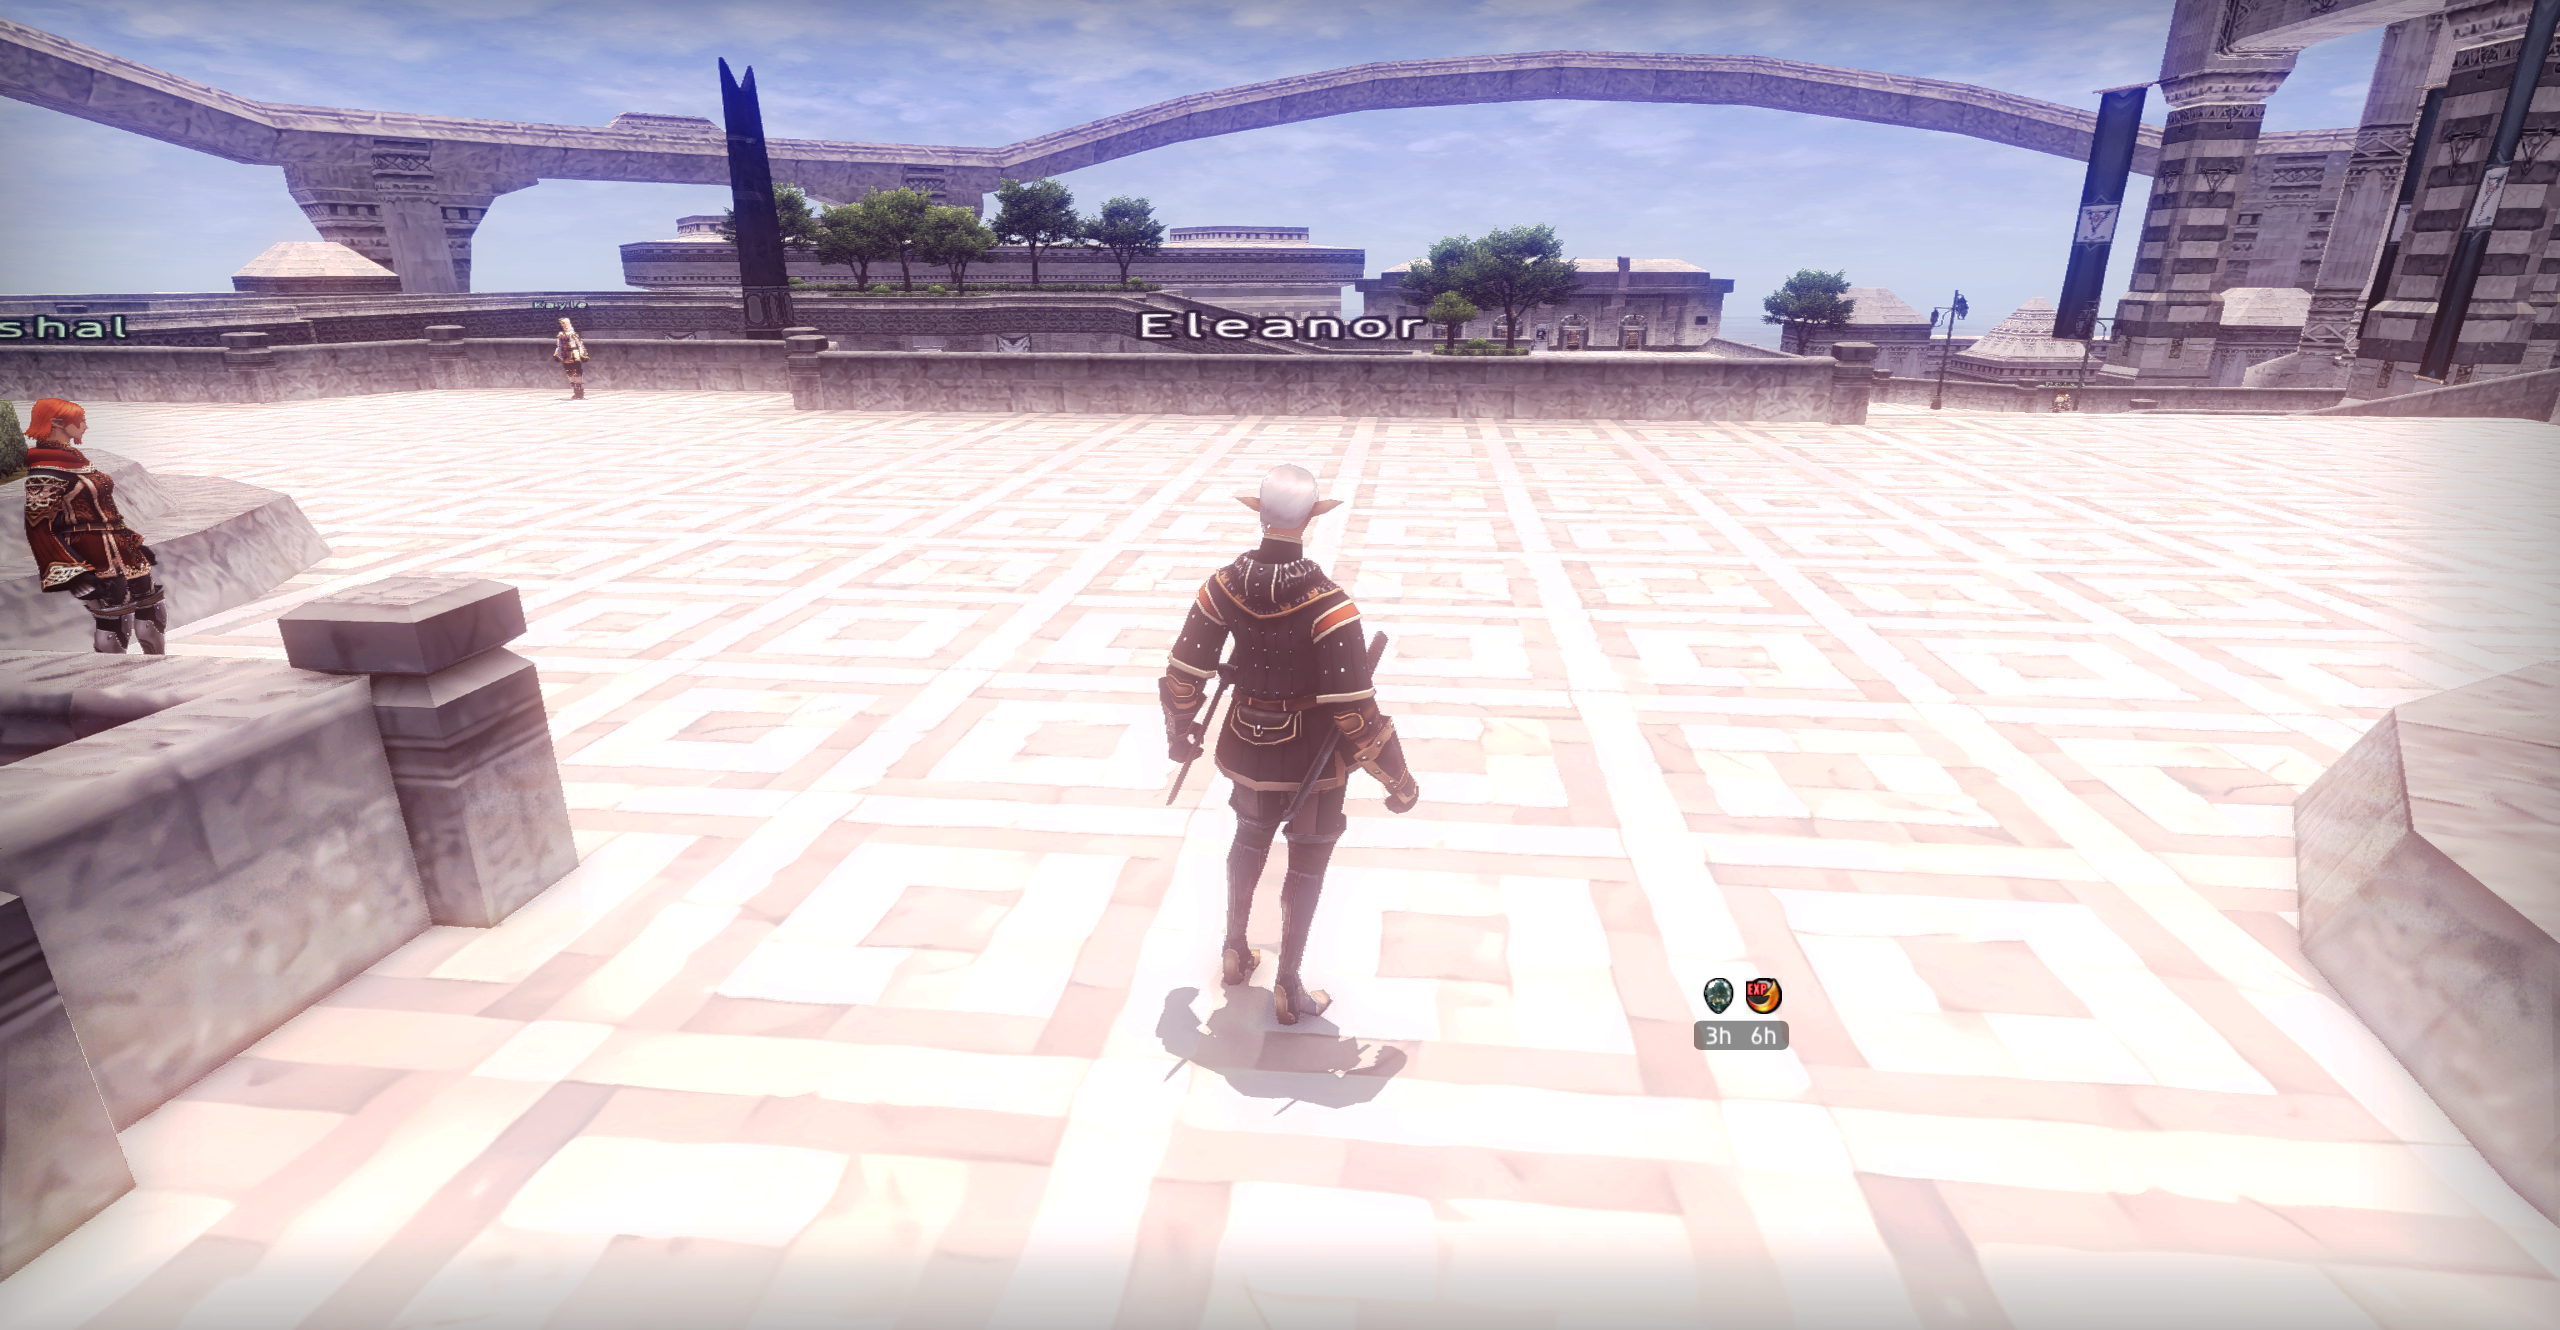
Playing with this curve can have very drastic effects on the resulting image and that’s why the one I’m using is not too far from the original line. However, you can judge the result in the comparison below, remembering the previous disclaimer:
Bonus: same curve applied to the mountains pic
Even though the nature of the issue is entirely different in this case, it’s another example to appreciate the effect of the un-flattening that colors range.
Conclusions
This has been quite the nerdy post but I hope you found this at least a tiny-bit entertaining!
You can download the updated ReShade Preset 3 directly from here or the dedicated page.
Aaaand, see you next time! ❤️🐇