
As a die-hard FFXI player, I invested more than I should have in tuning effects on ReShade in order to create a reasonably good preset.
The goal in mind working on this was to achieve a significant improvement on the final image without messing up the UI layer and specific areas with already very strong effects.
While I consider this still a work-in-progress, I’m ready to share the results achieved so far. As more significant improvements will be made, I will update the preset available on this page.
Preset 1
(for limited GPU power)
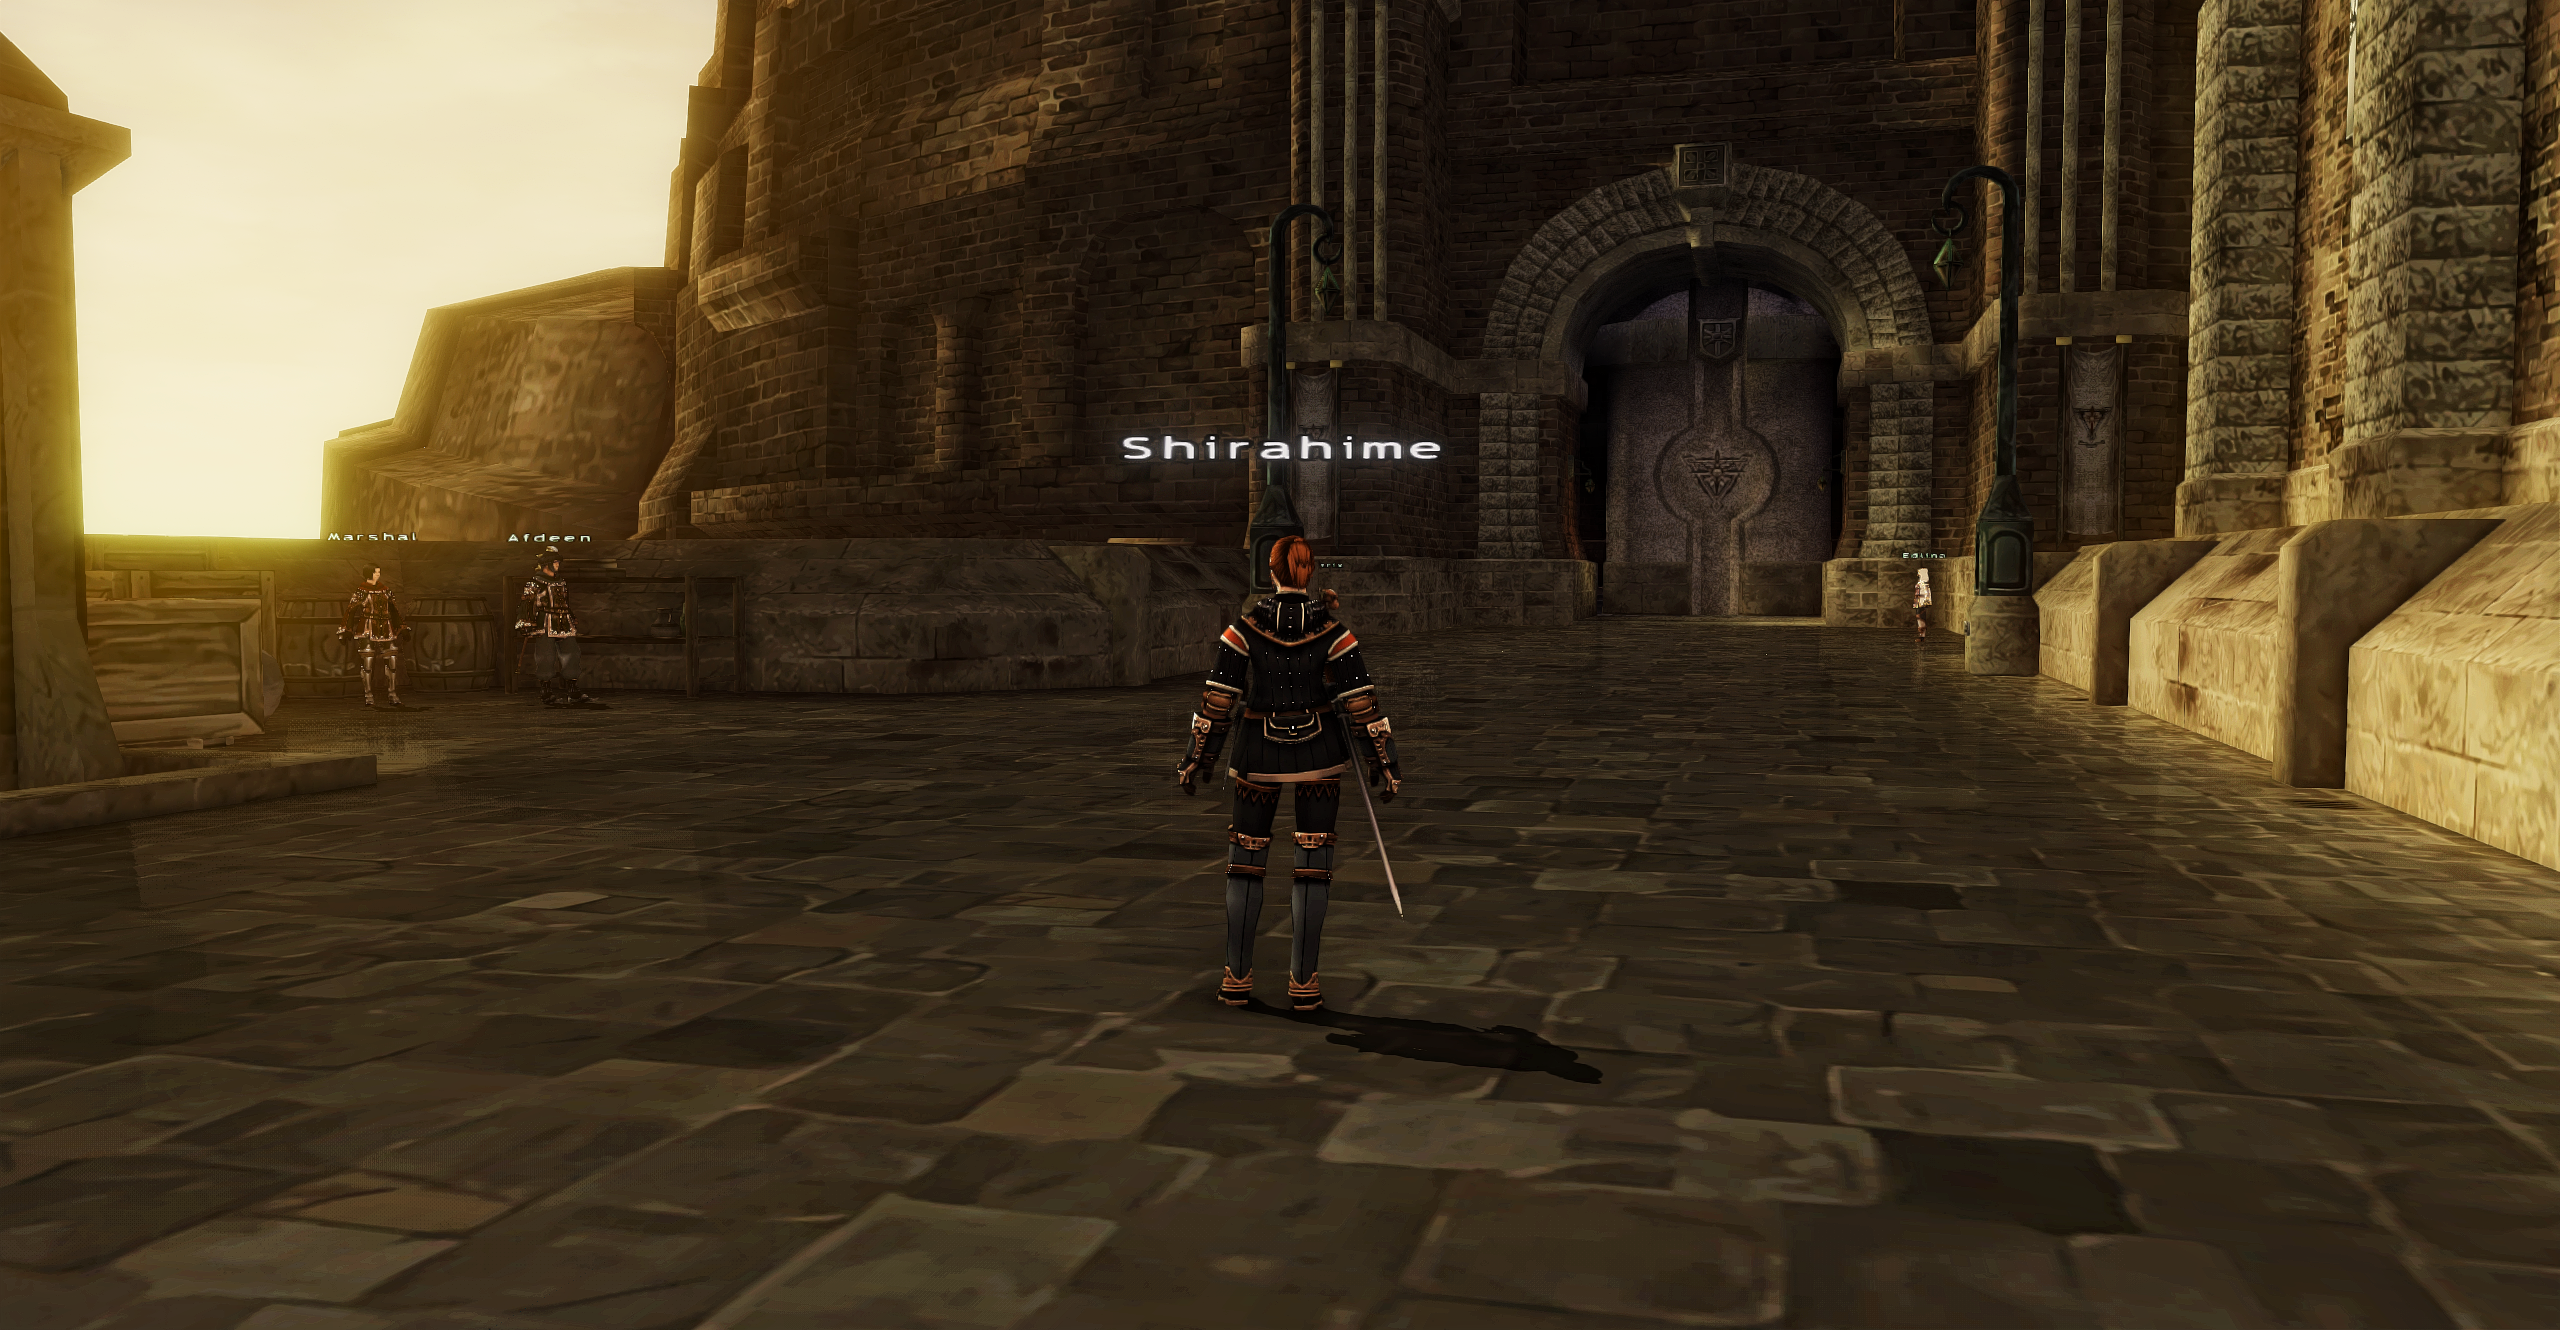
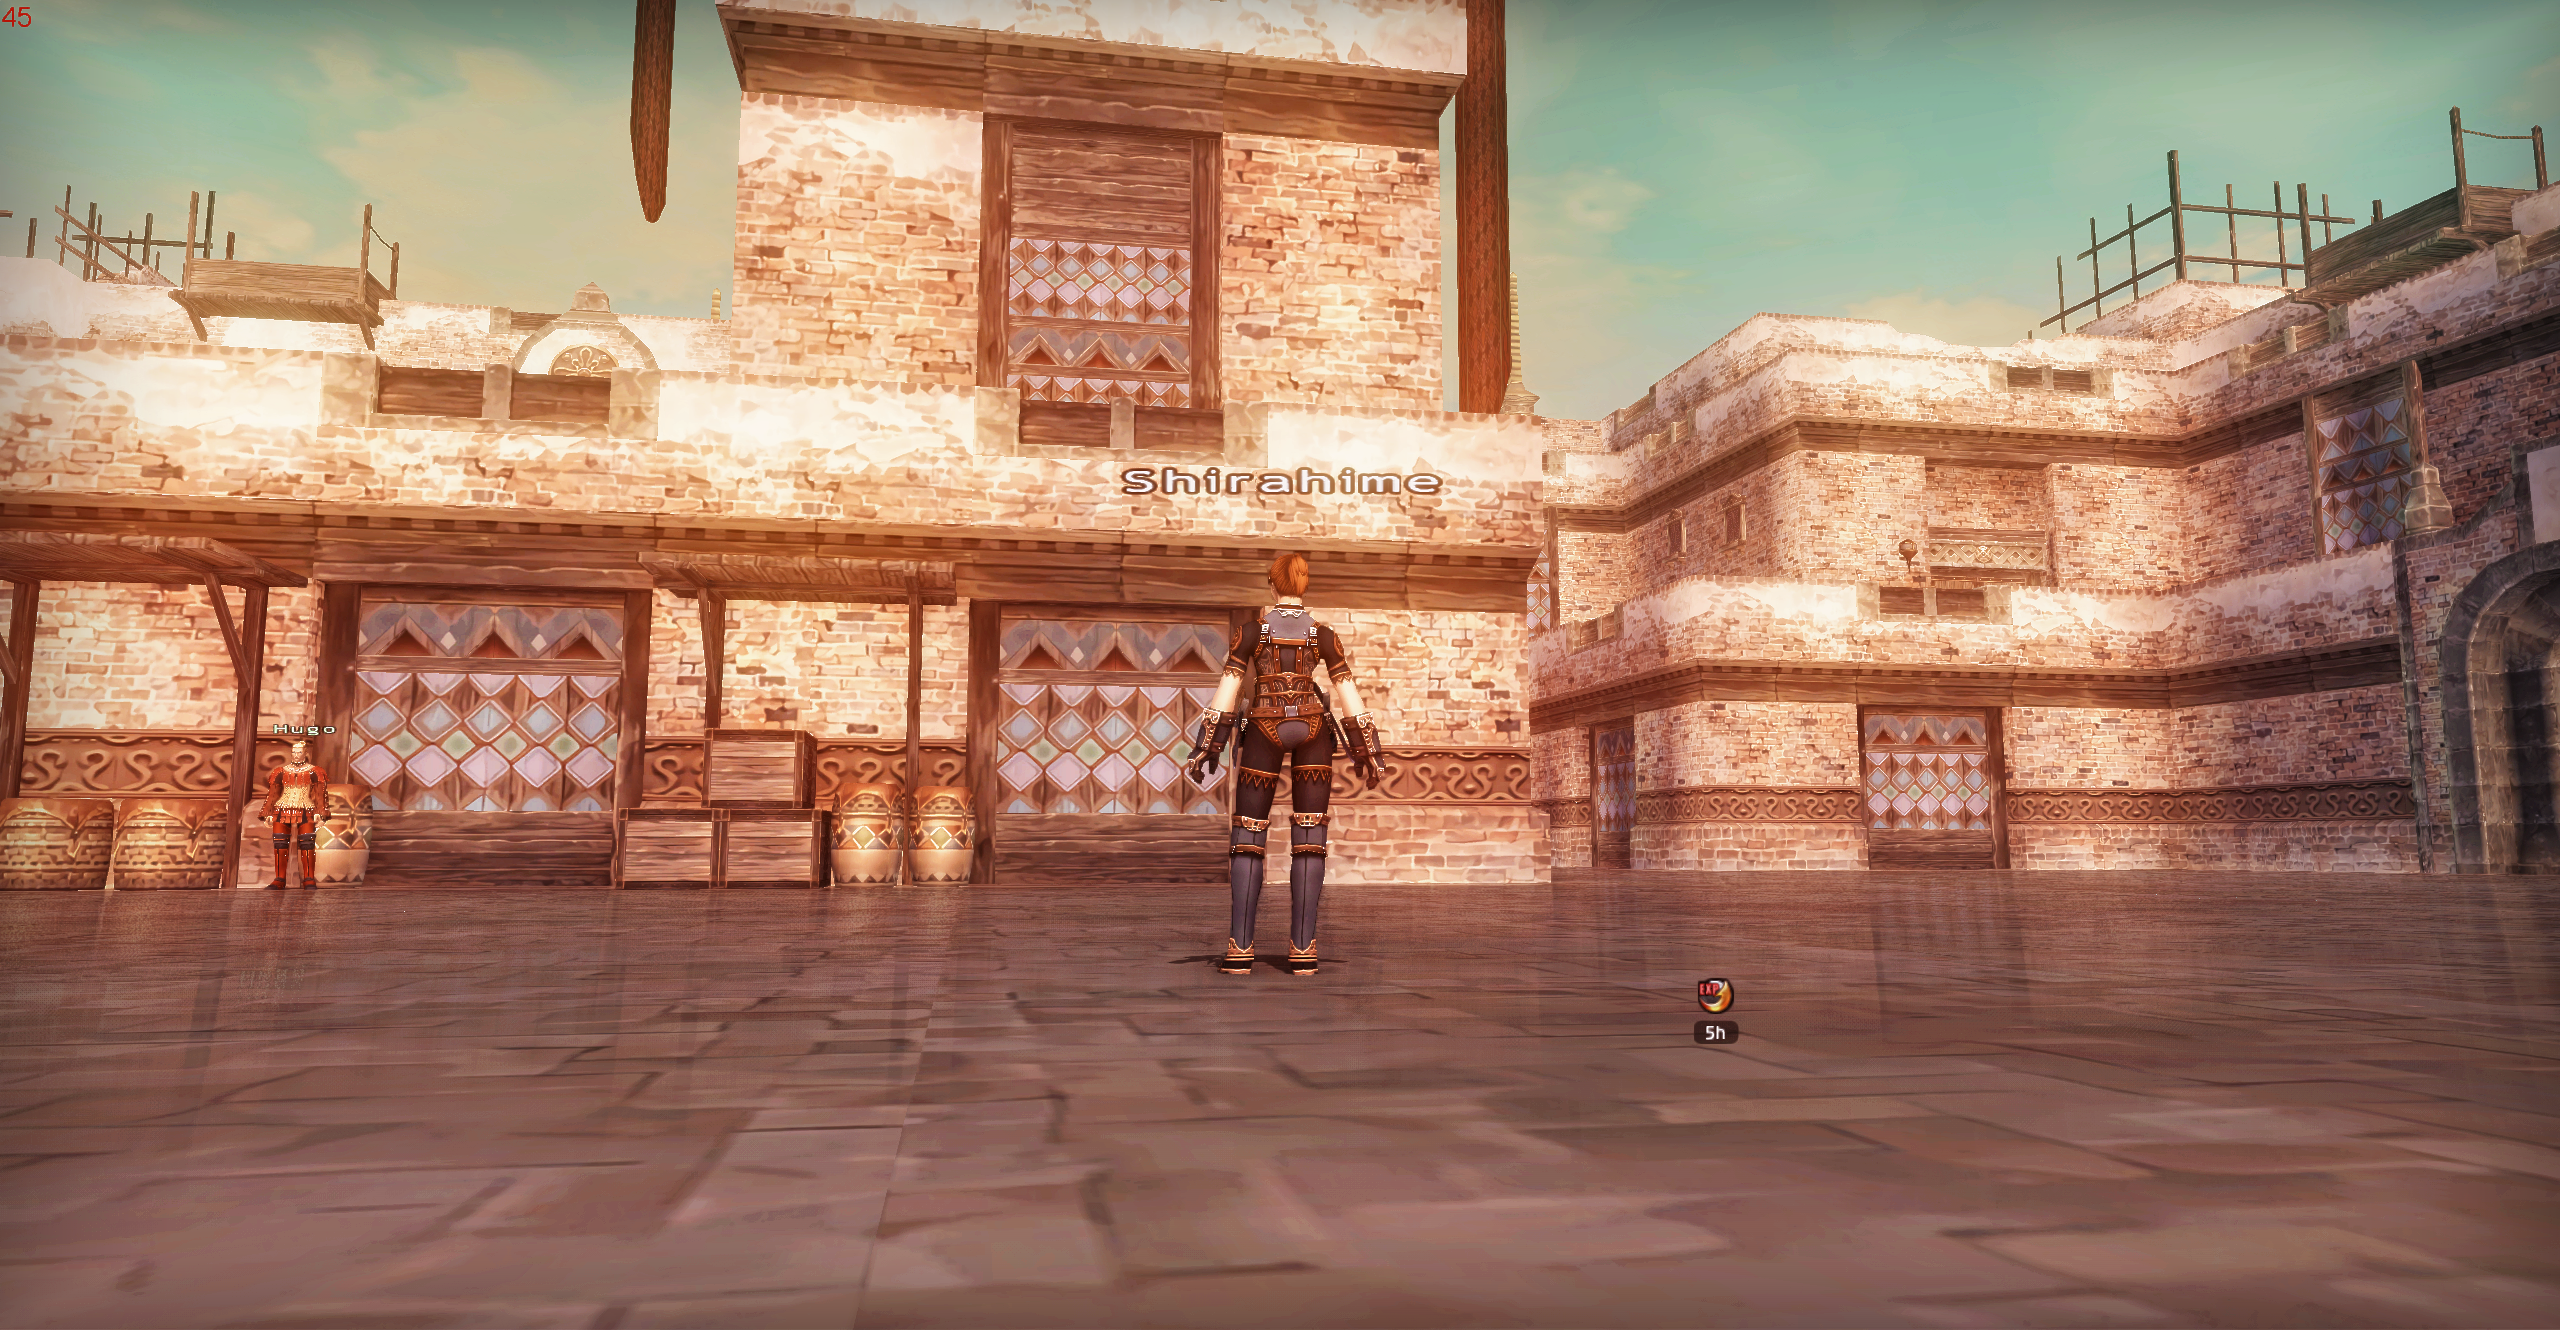
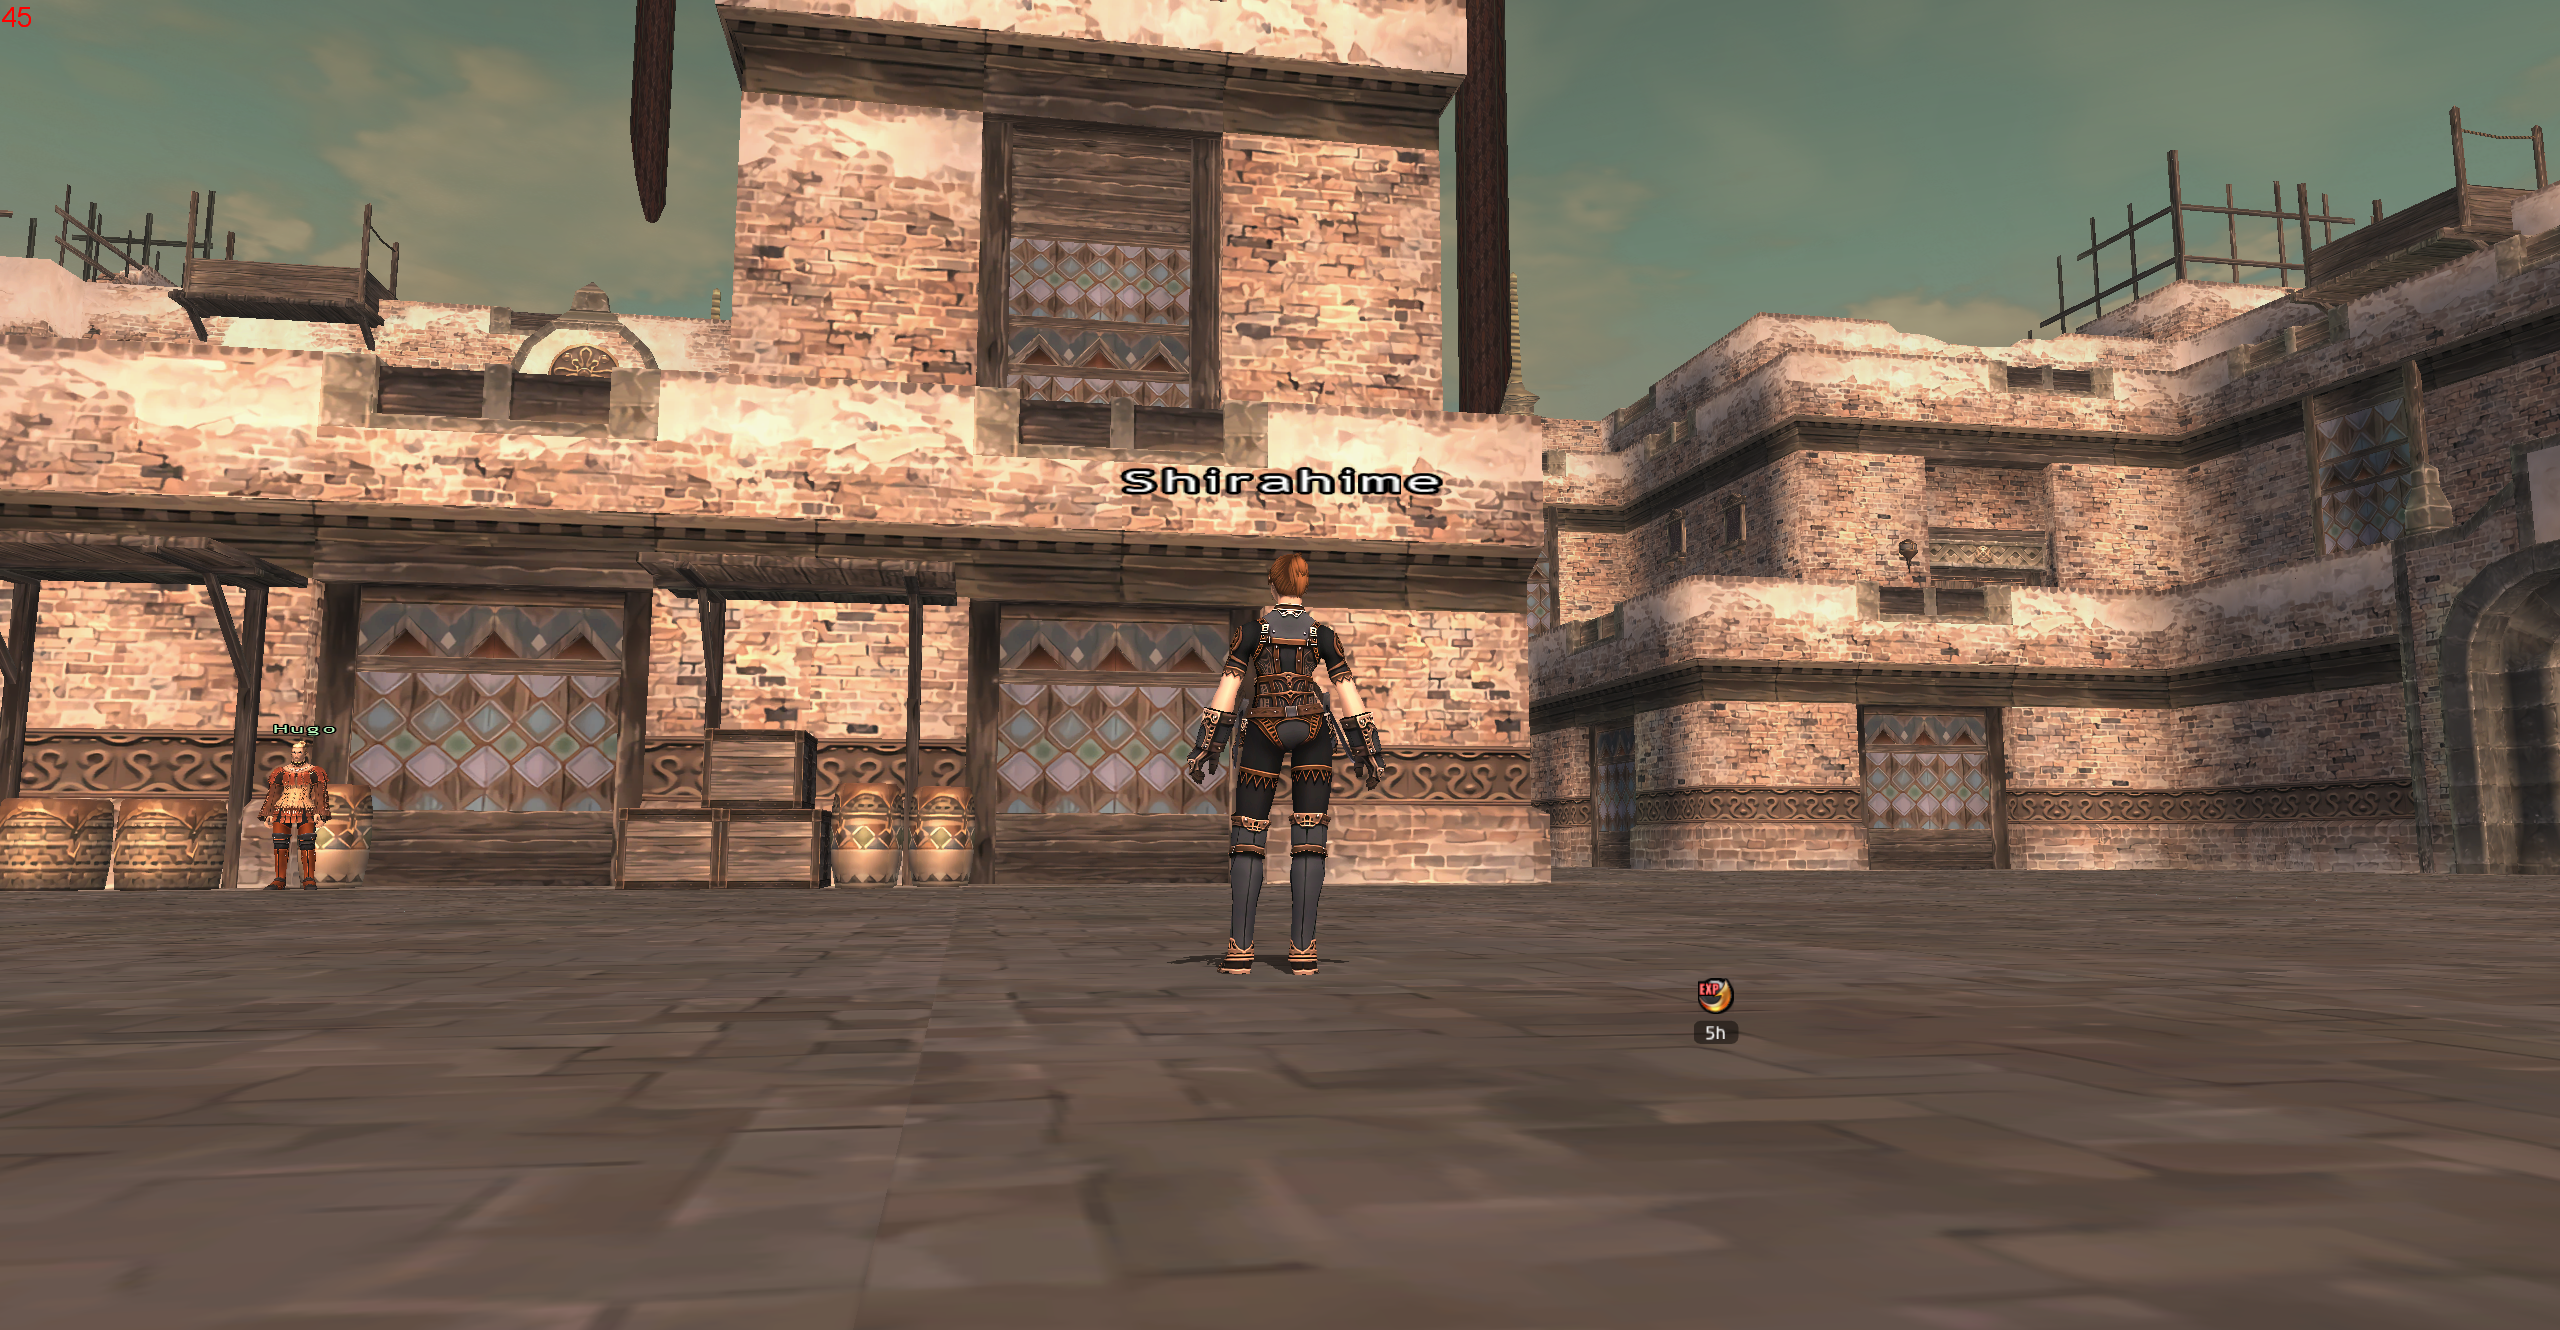
The first preset I’ll be discussing is meant for people who don’t want to add any burdening computational load in the rendering of their game.
The preset doesn’t use many effects that need more than single passes or, for each pixel, to constantly check the sourrounding ones for additional data.
Despite this limitation the final result is clearly some relevant improvement compared to the base game rendering.
The obvious limitations are given by the fact that the effects can hardly distinguish between the rendered 3D scene and the UI layer (if not through some masking effects).
The effects currently in use in this preset are the following:
- SMAA.fx
- CAS.fx
- Depth_cues.fx
- FakeHDR.fx
- DPX.fx
- Vignette.fx
- Levels.fx
- Tonemap.fx
- BloomingHDR.fx
- Vibrance.fx
- Clarity.fx
- LumaSharpen.fx
- Technicolor2.fx
- RadiantGI.fx
- GloomAO.fx
- Sepia.fx
- DLAA_Plus.fx
Download to the preset: Click to Download!
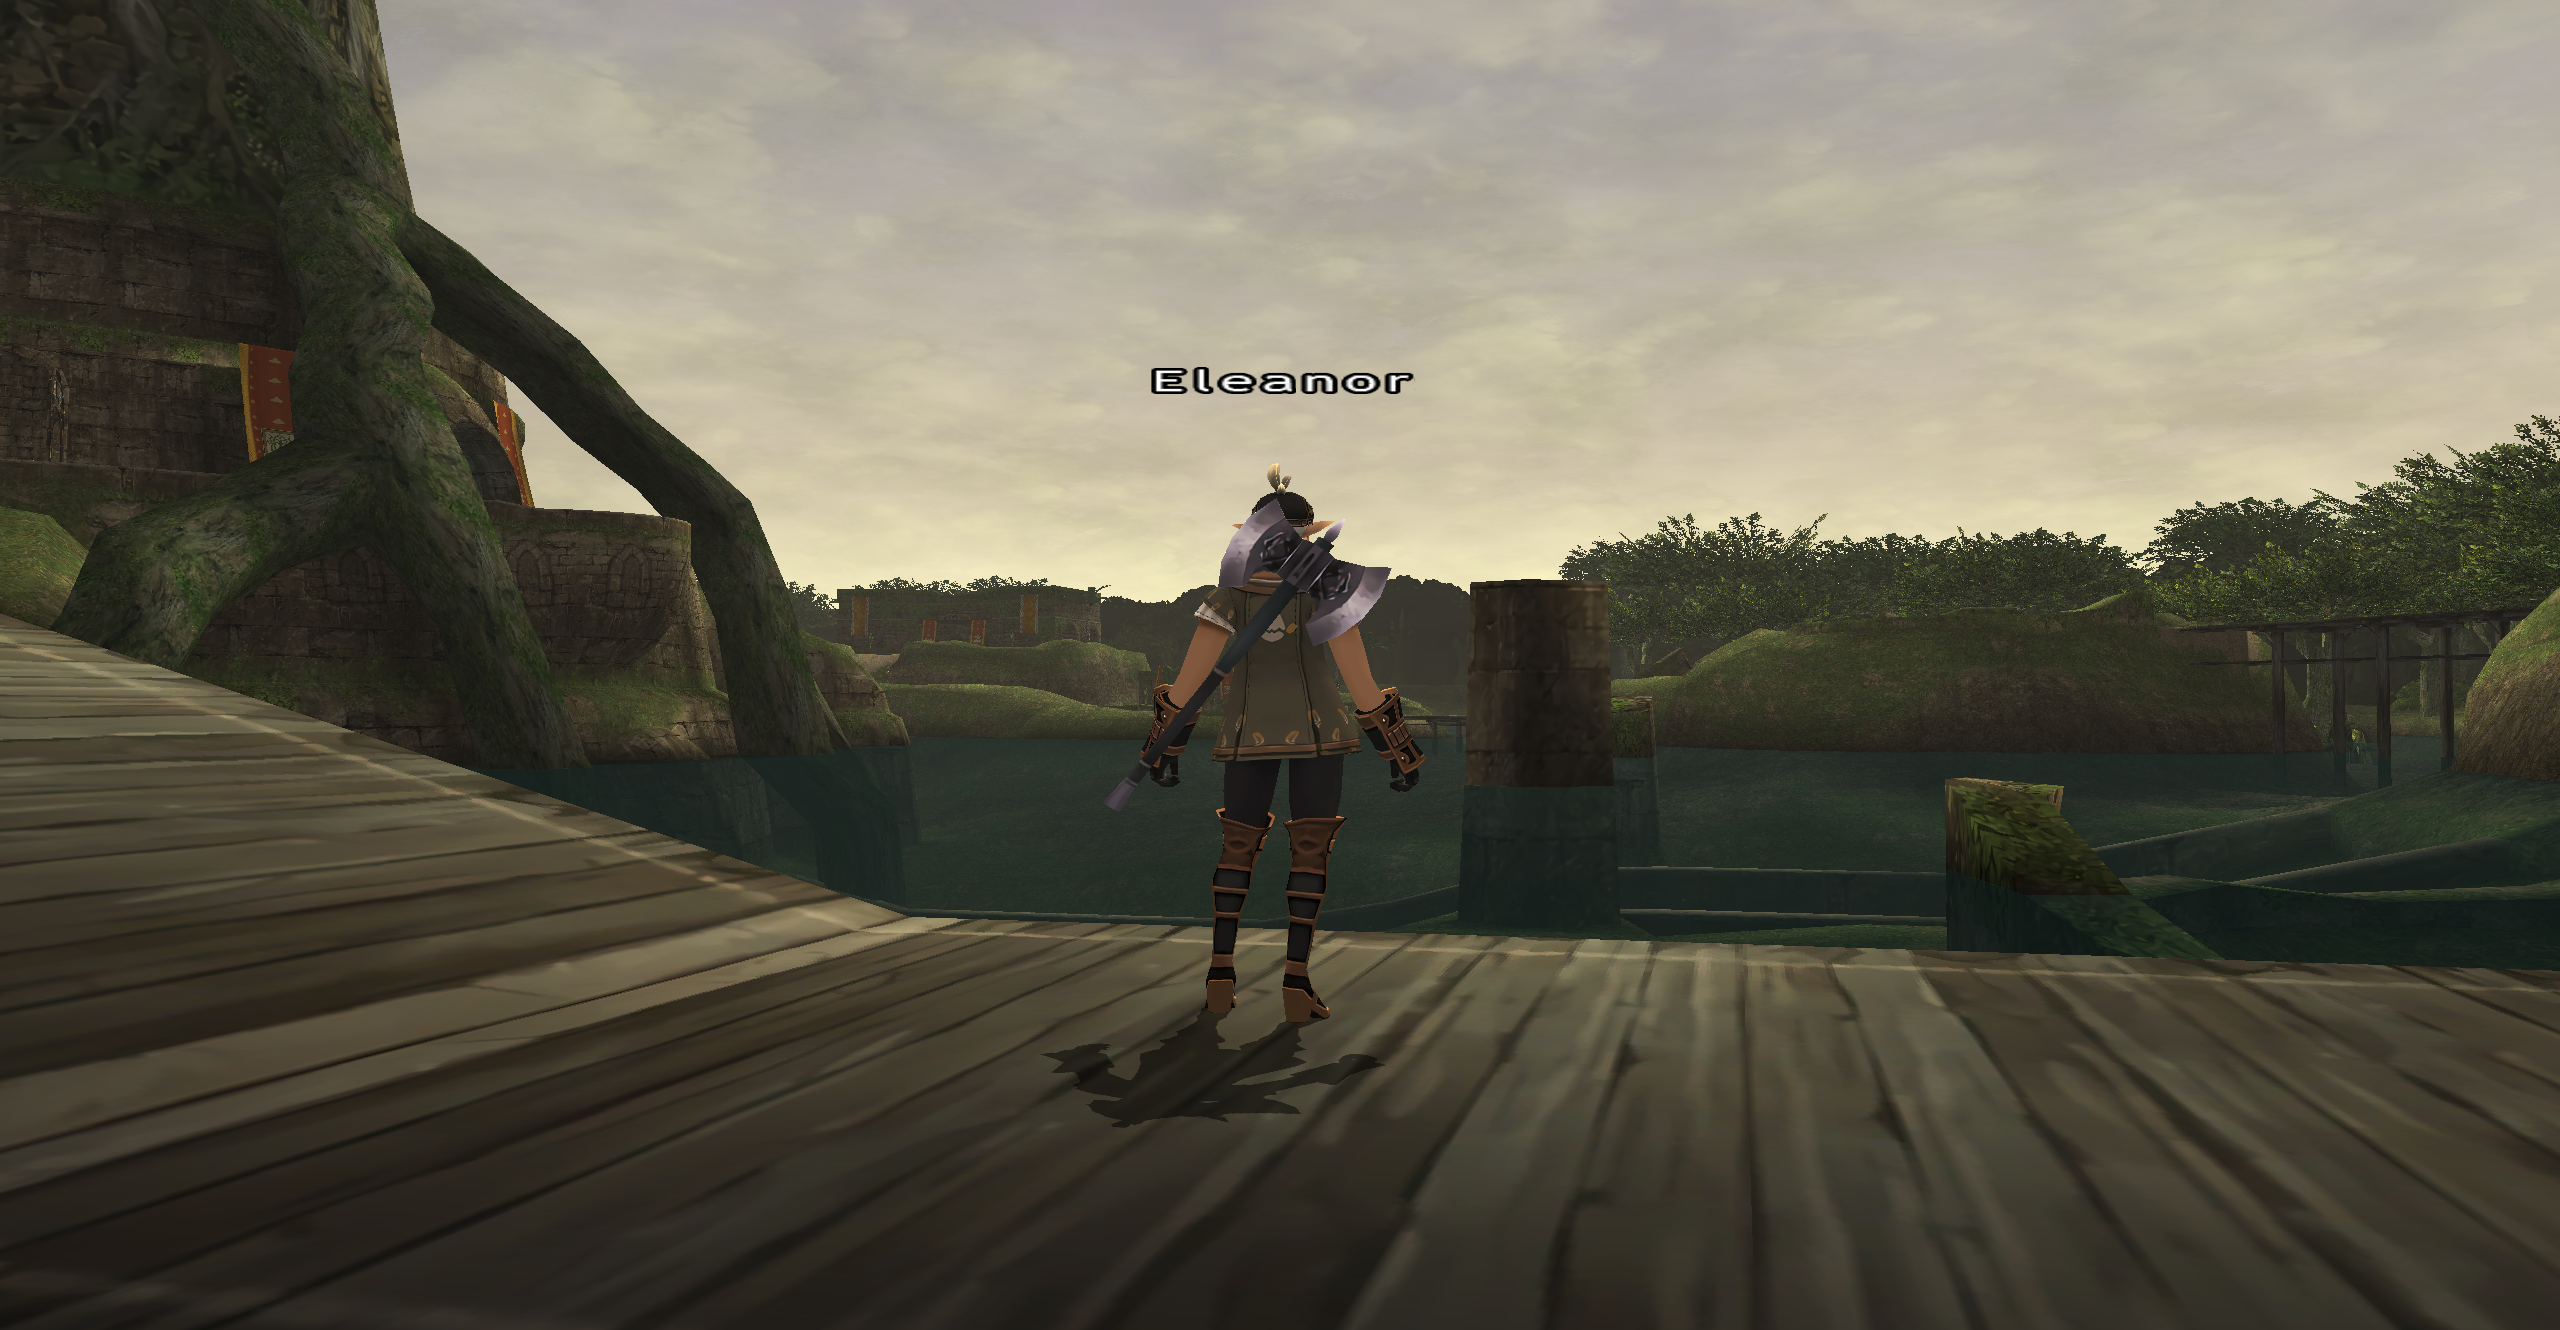
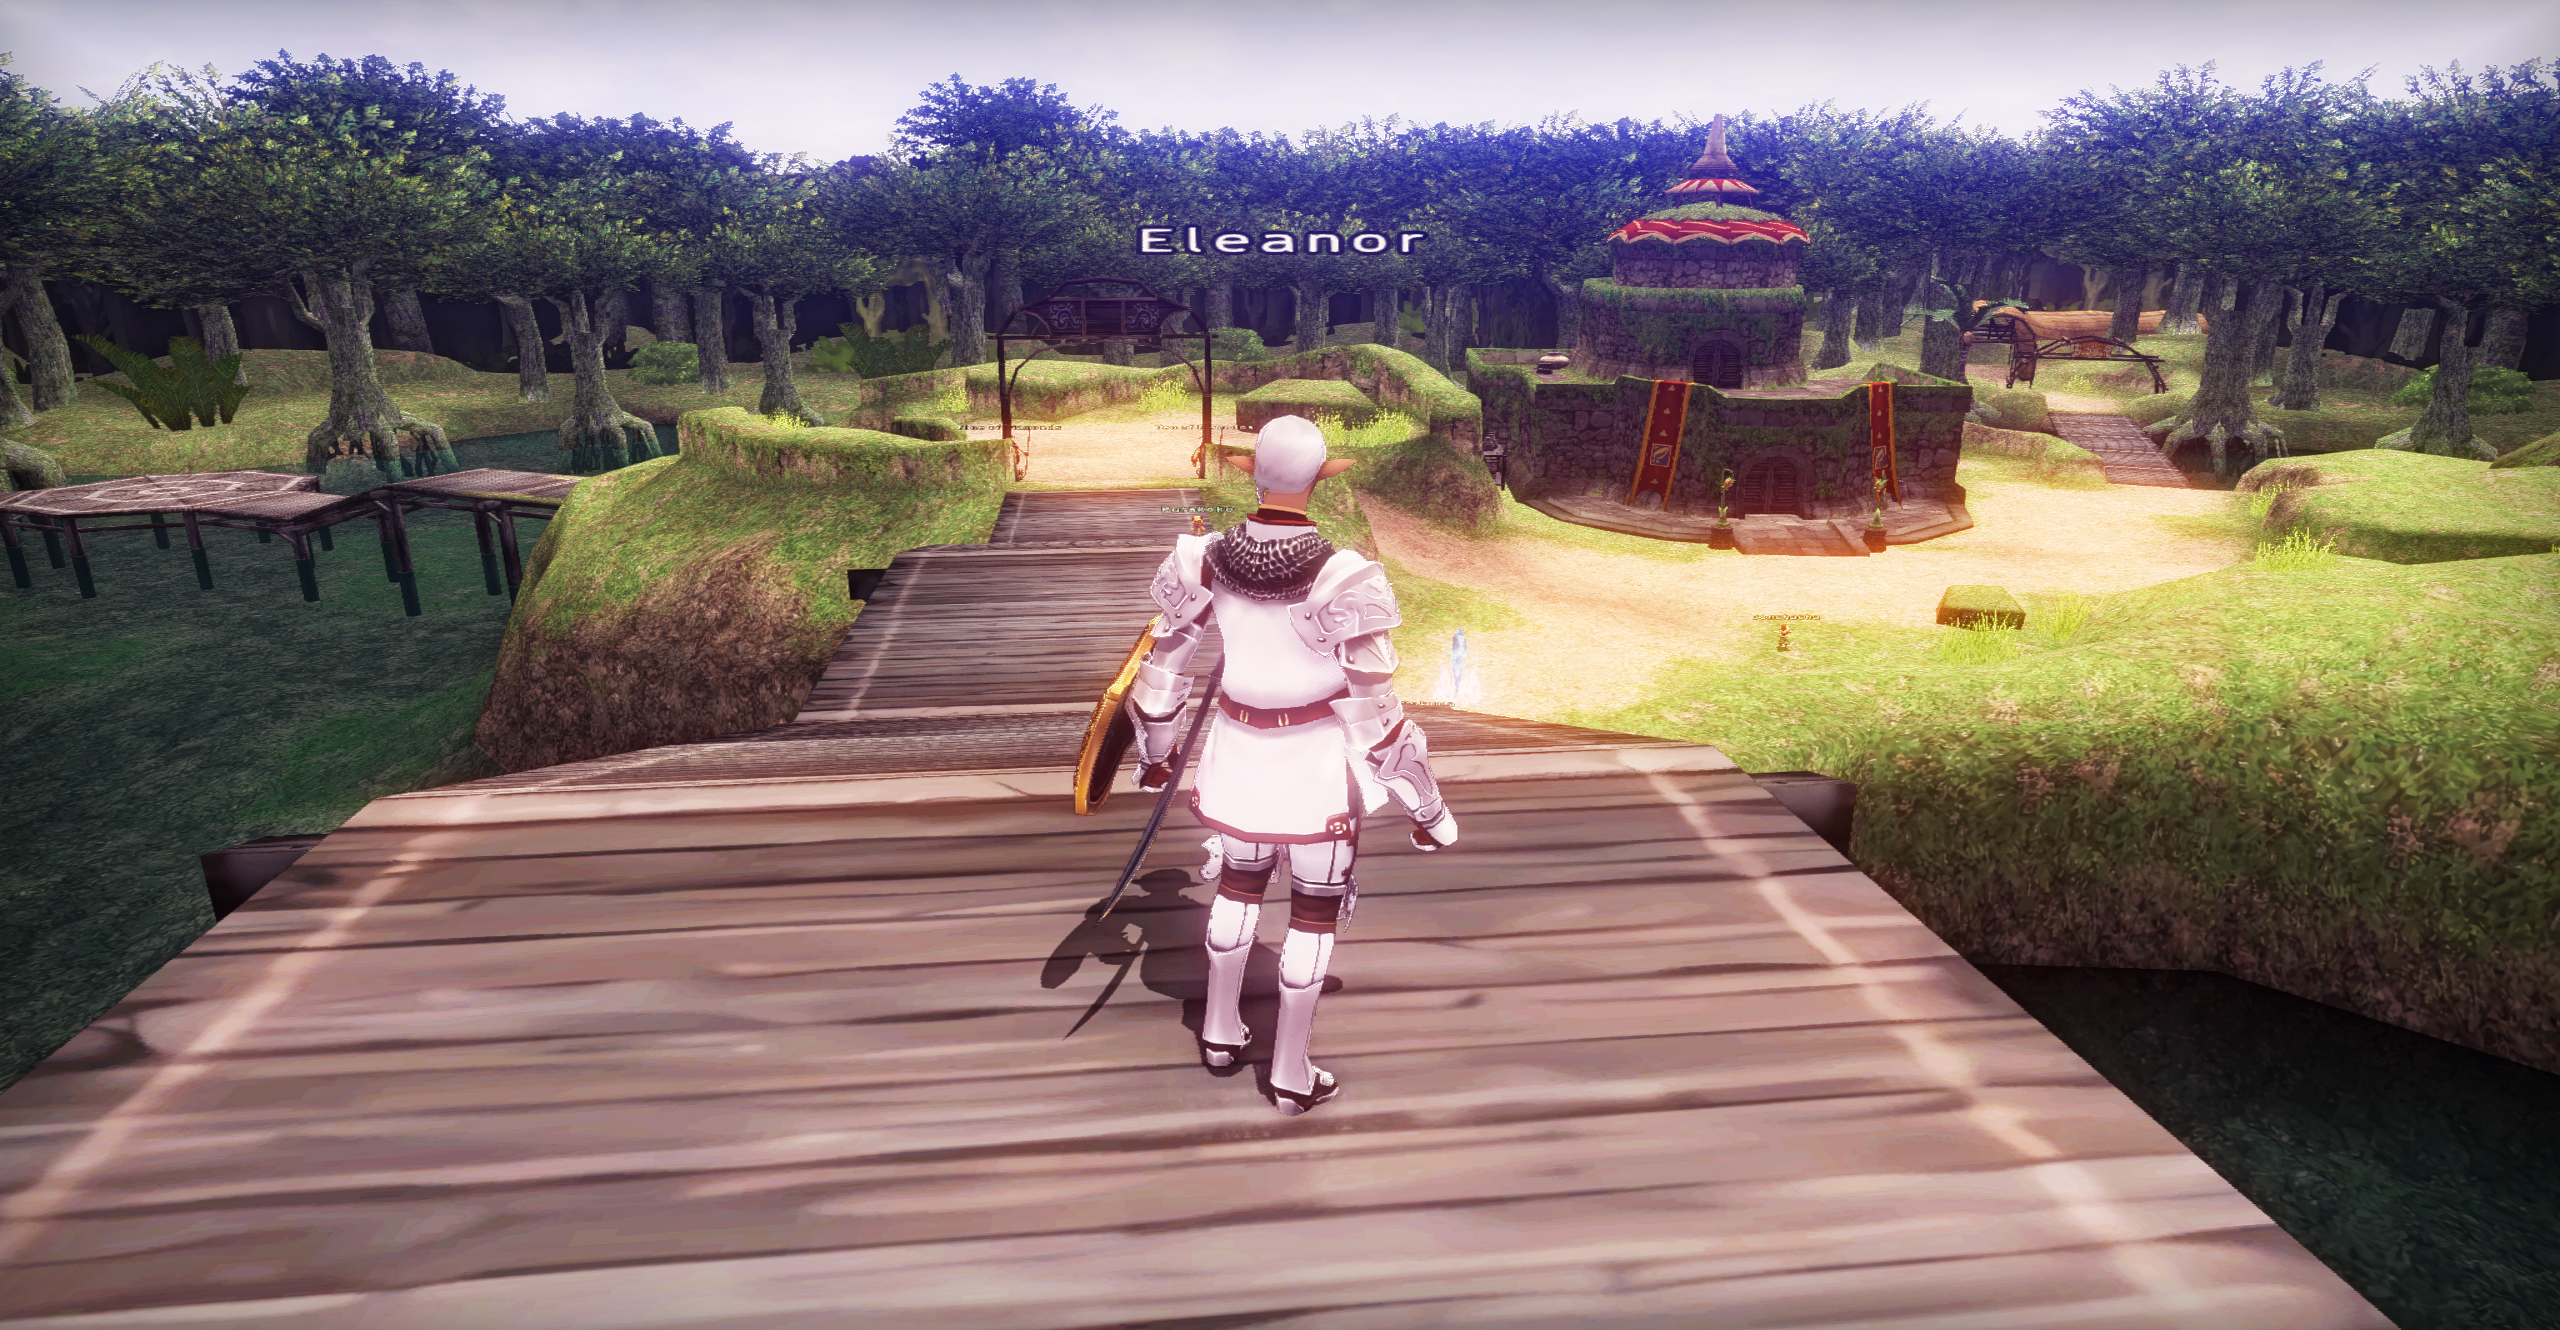
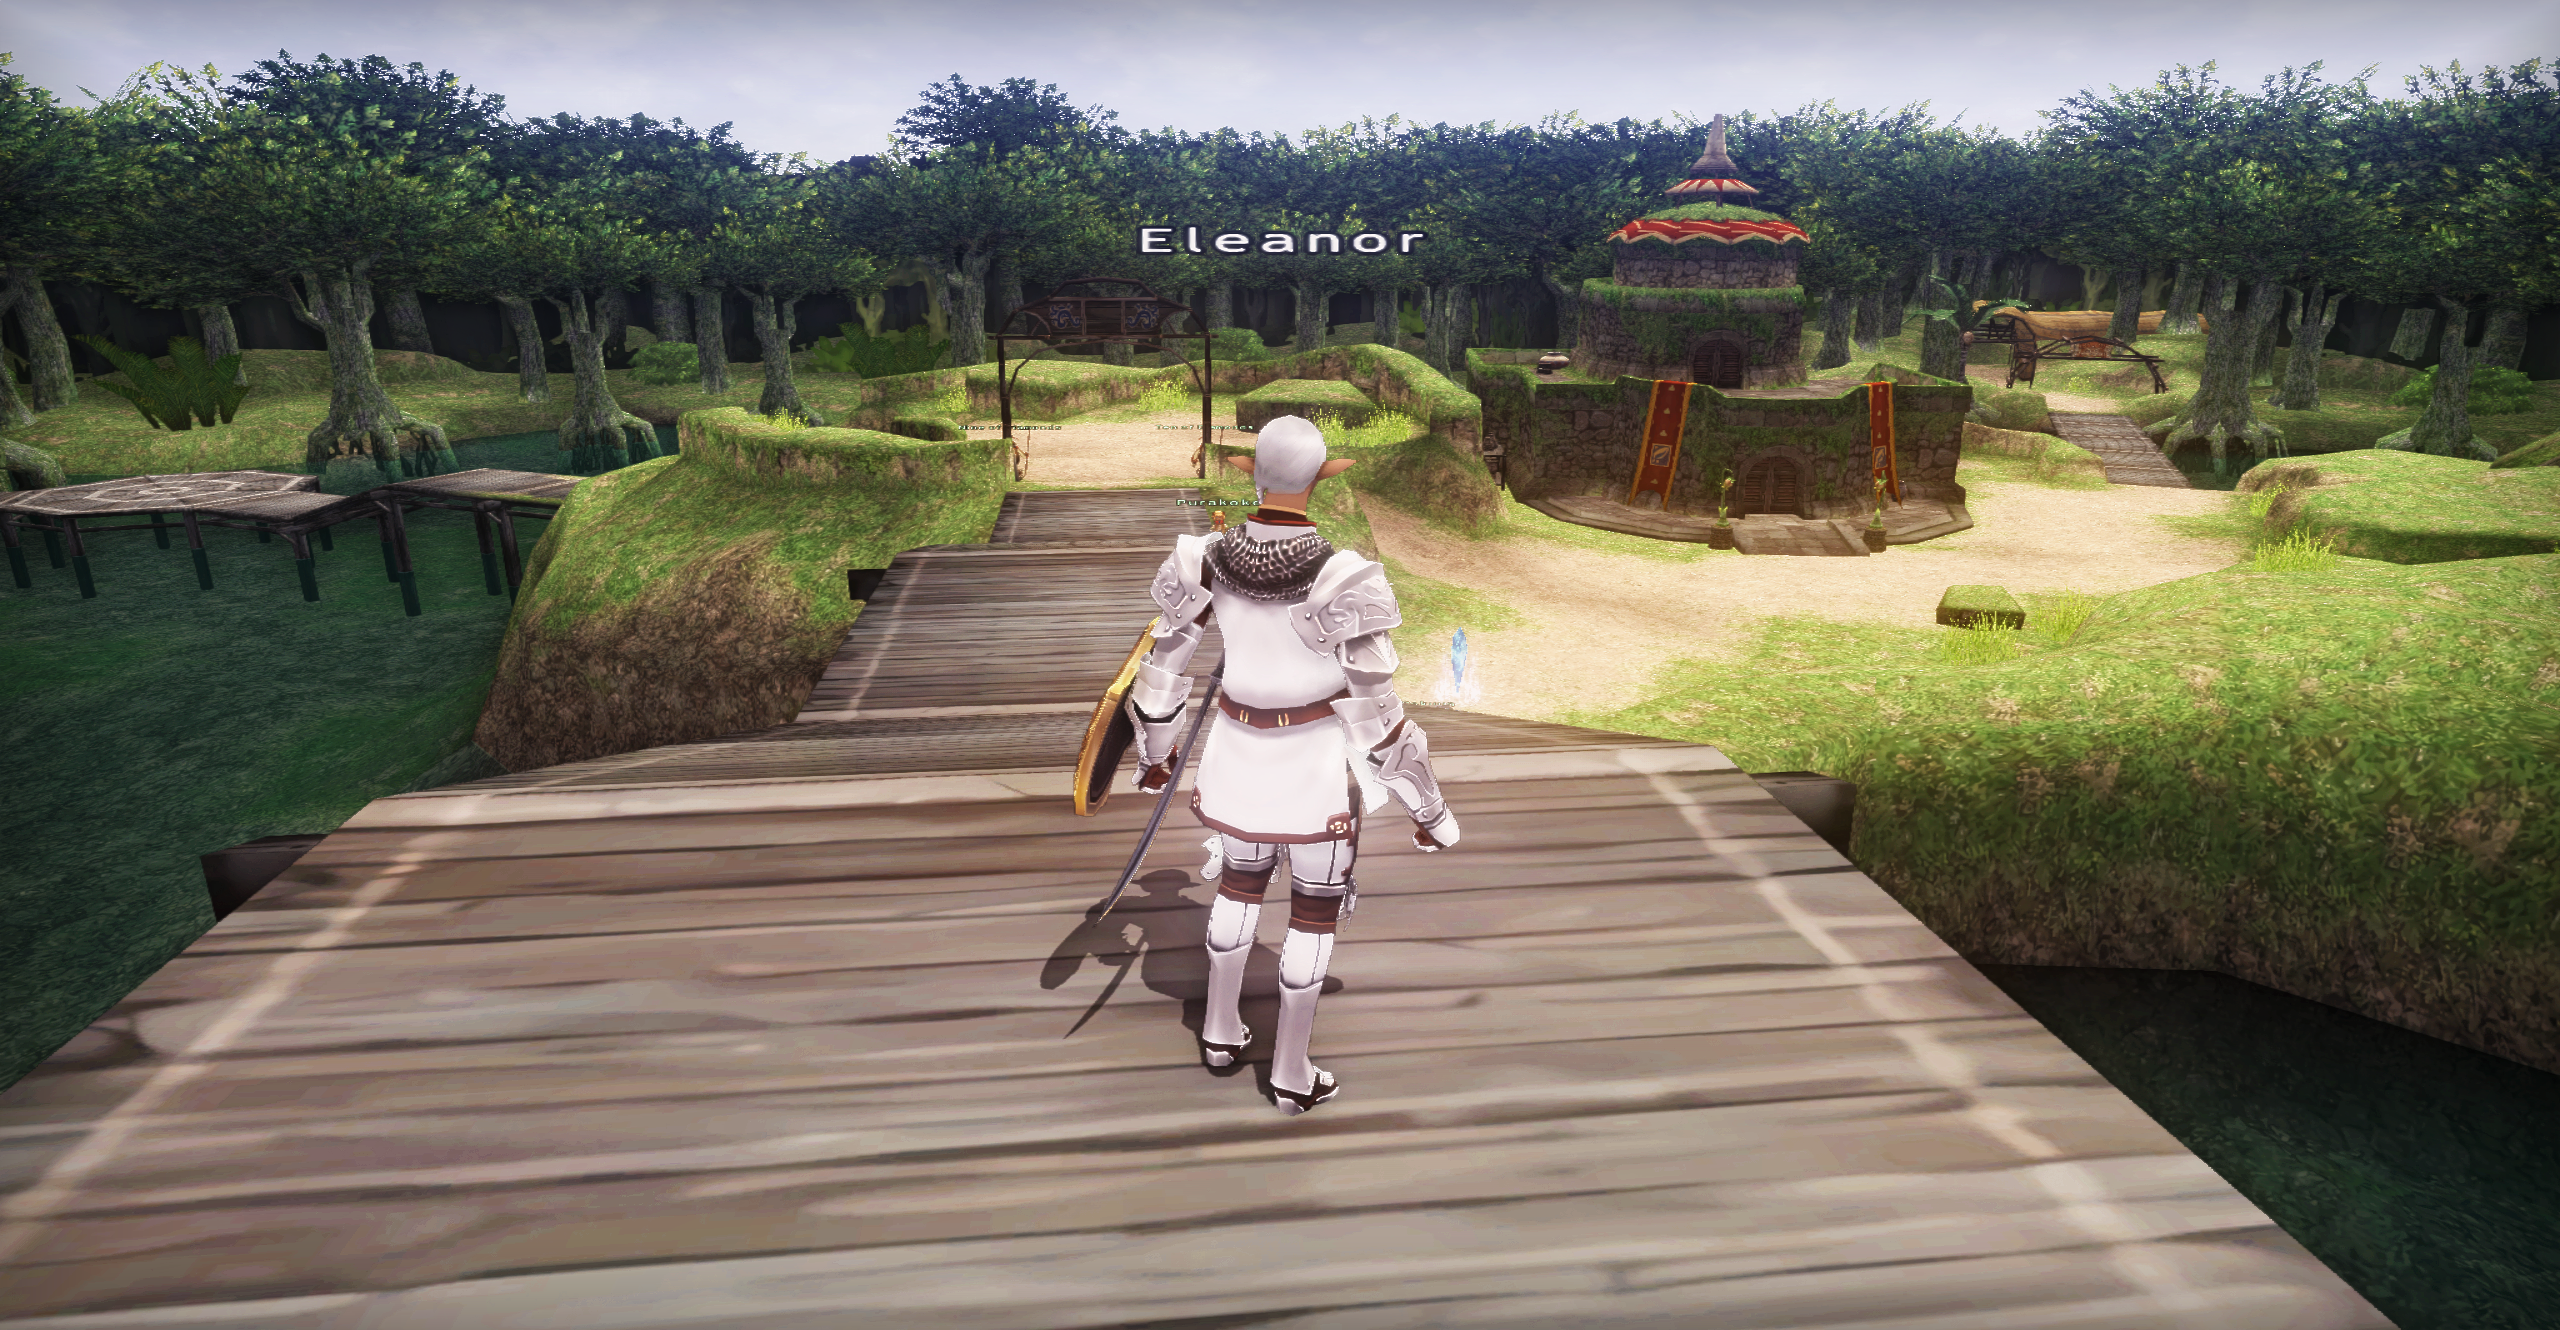
Down here you can see some examples of comparison between No ReShade and ReShade On with this first preset. If you want to see more samples from different areas you can take a look here.


Preset 2
(for maximum quality)
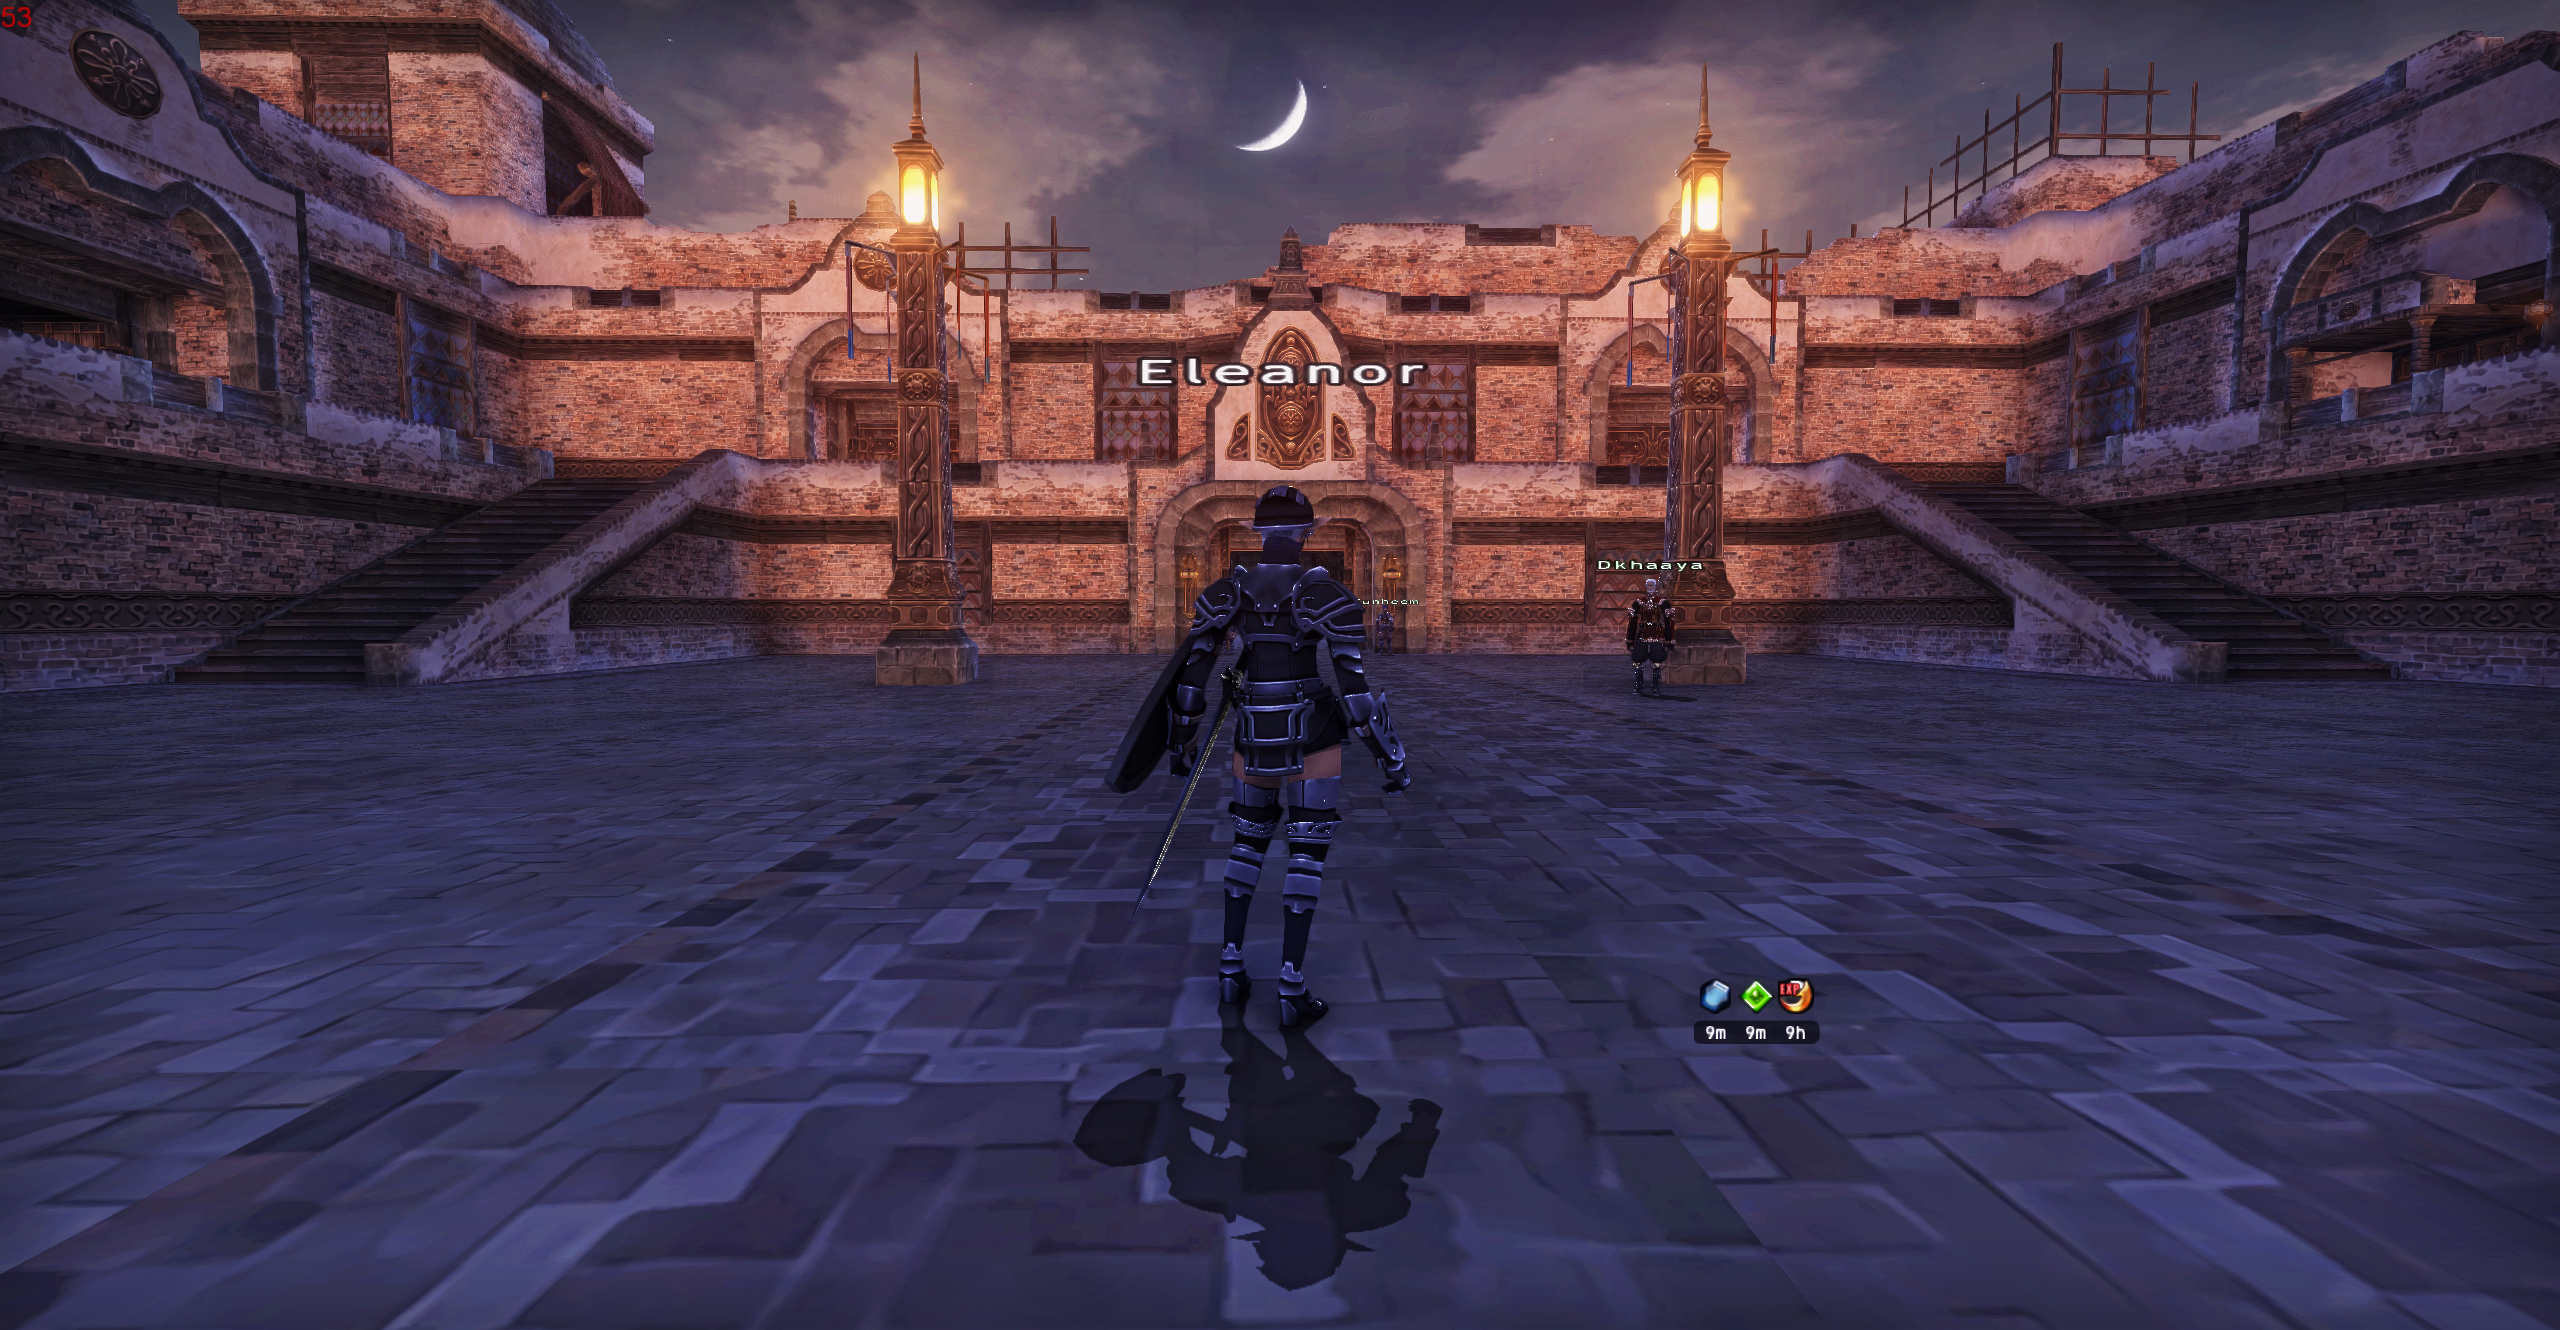
The second preset adds more realism to the scene. To achieve that, it features effects based on RT techniques and therefore it’s more taxing on your GPU. However, for mid-high GPU range (I’m working with a RX 6800 XT at the time of this post) it should be able to stay around the 60fps limit, provided you are making use of the fps addon for Ashita or equivalent for Windower.
The limit in pushing the effects for even better visuals is again avoiding to mess up the game UI.
In this case, no matter how I tuned the effects, to keep the most relevant visual improvement, the minimap plugin (again for Ashita) was causing a lot of problems with bloom such as the minimap turning into a screen lamp:
Issue VS Fix
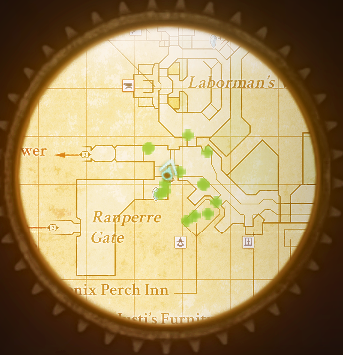
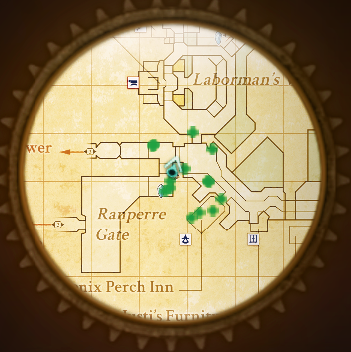
To fix this issue I coded an extra effect (ShapeMask.fx) properly discussed here. In short, it prevents the minimap from being affected by most of the other effects and it “activates” only when the minimap shows up (in case you want to use the minimapmon addon for the auto-hide feature).
The effects currently in use in this preset are the following:
- qUINT_ssr.fx
- NGLighting.fx
- FakeHDR.fx
- Depth_Cues.fx
- Tonemap.fx
- DPX.fx
- BloomingHDR.fx
- PD80_02_Bloom.fx
- MagicHDR.fx
- Vibrance.fx
- Clarity.fx
- LumaSharpen.fx
- Technicolor2.fx
- GloomAO.fx
- MartyMods_MXAO.fx
- DLAA_Plus.fx
- qUINT_MXAO.fx
- PD80_02_Cinetcols_LUT.fx
- LocalContrastCS.fx
- Sepia.fx
- ArtisticVignette.fx
Bonus:
- ShapeMask.fx (Read above)
Download to the preset: Click to Download!
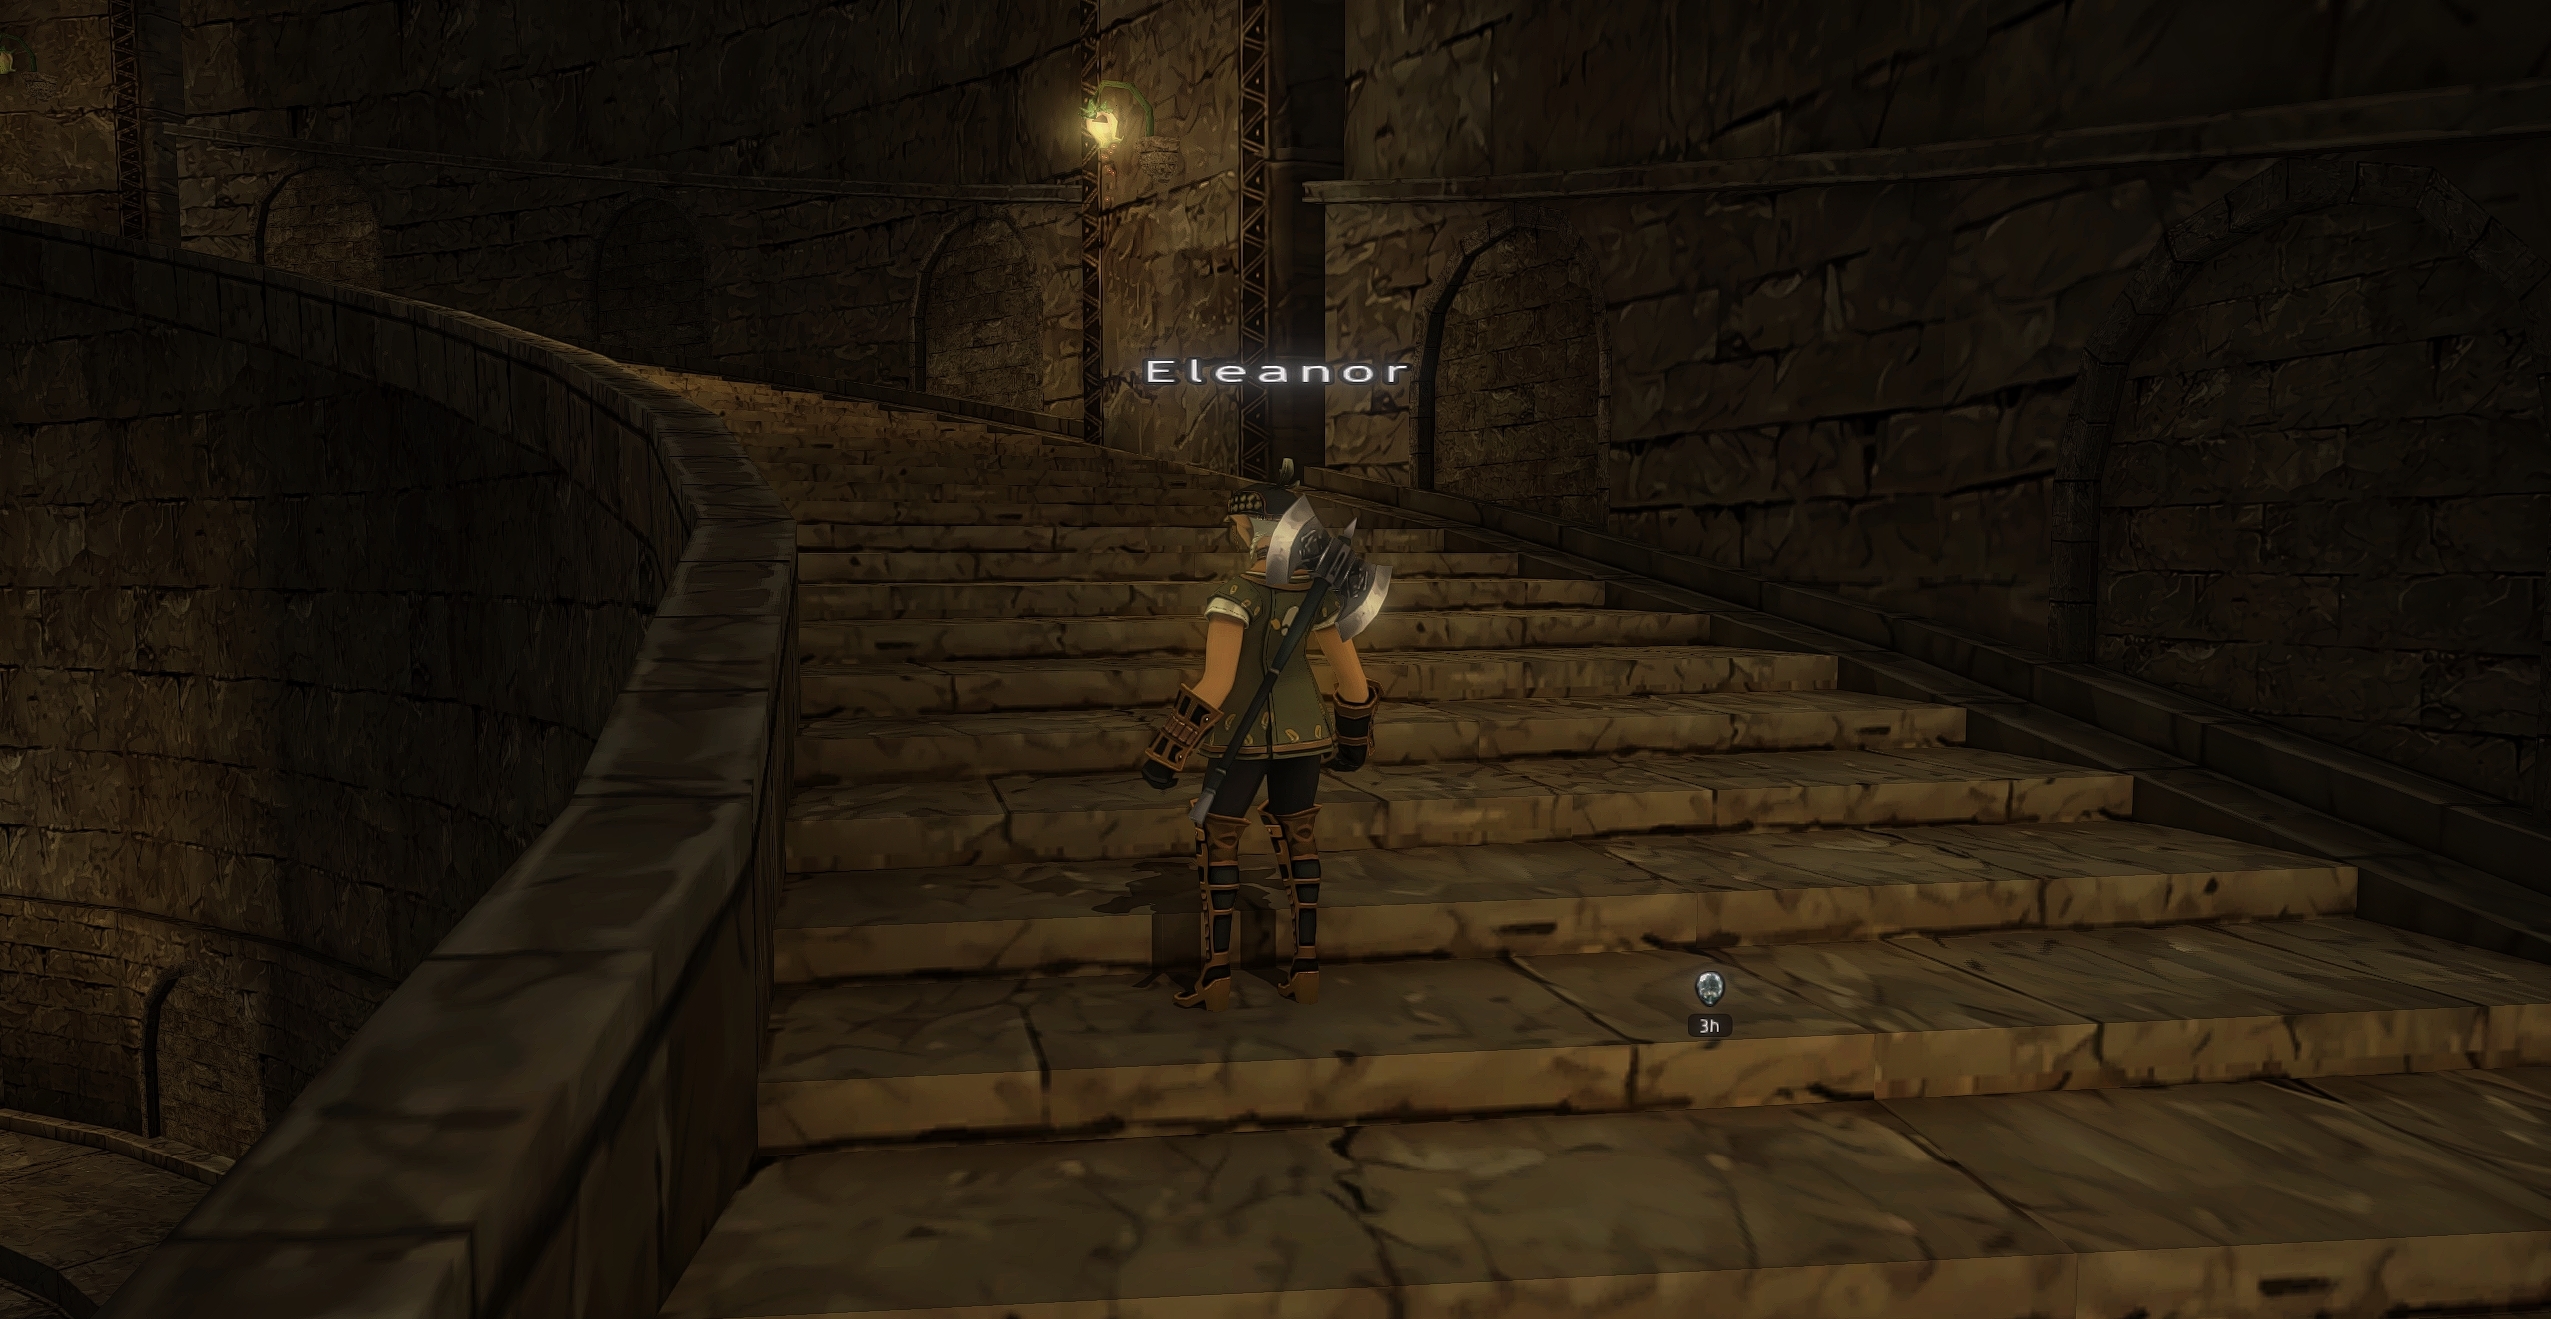
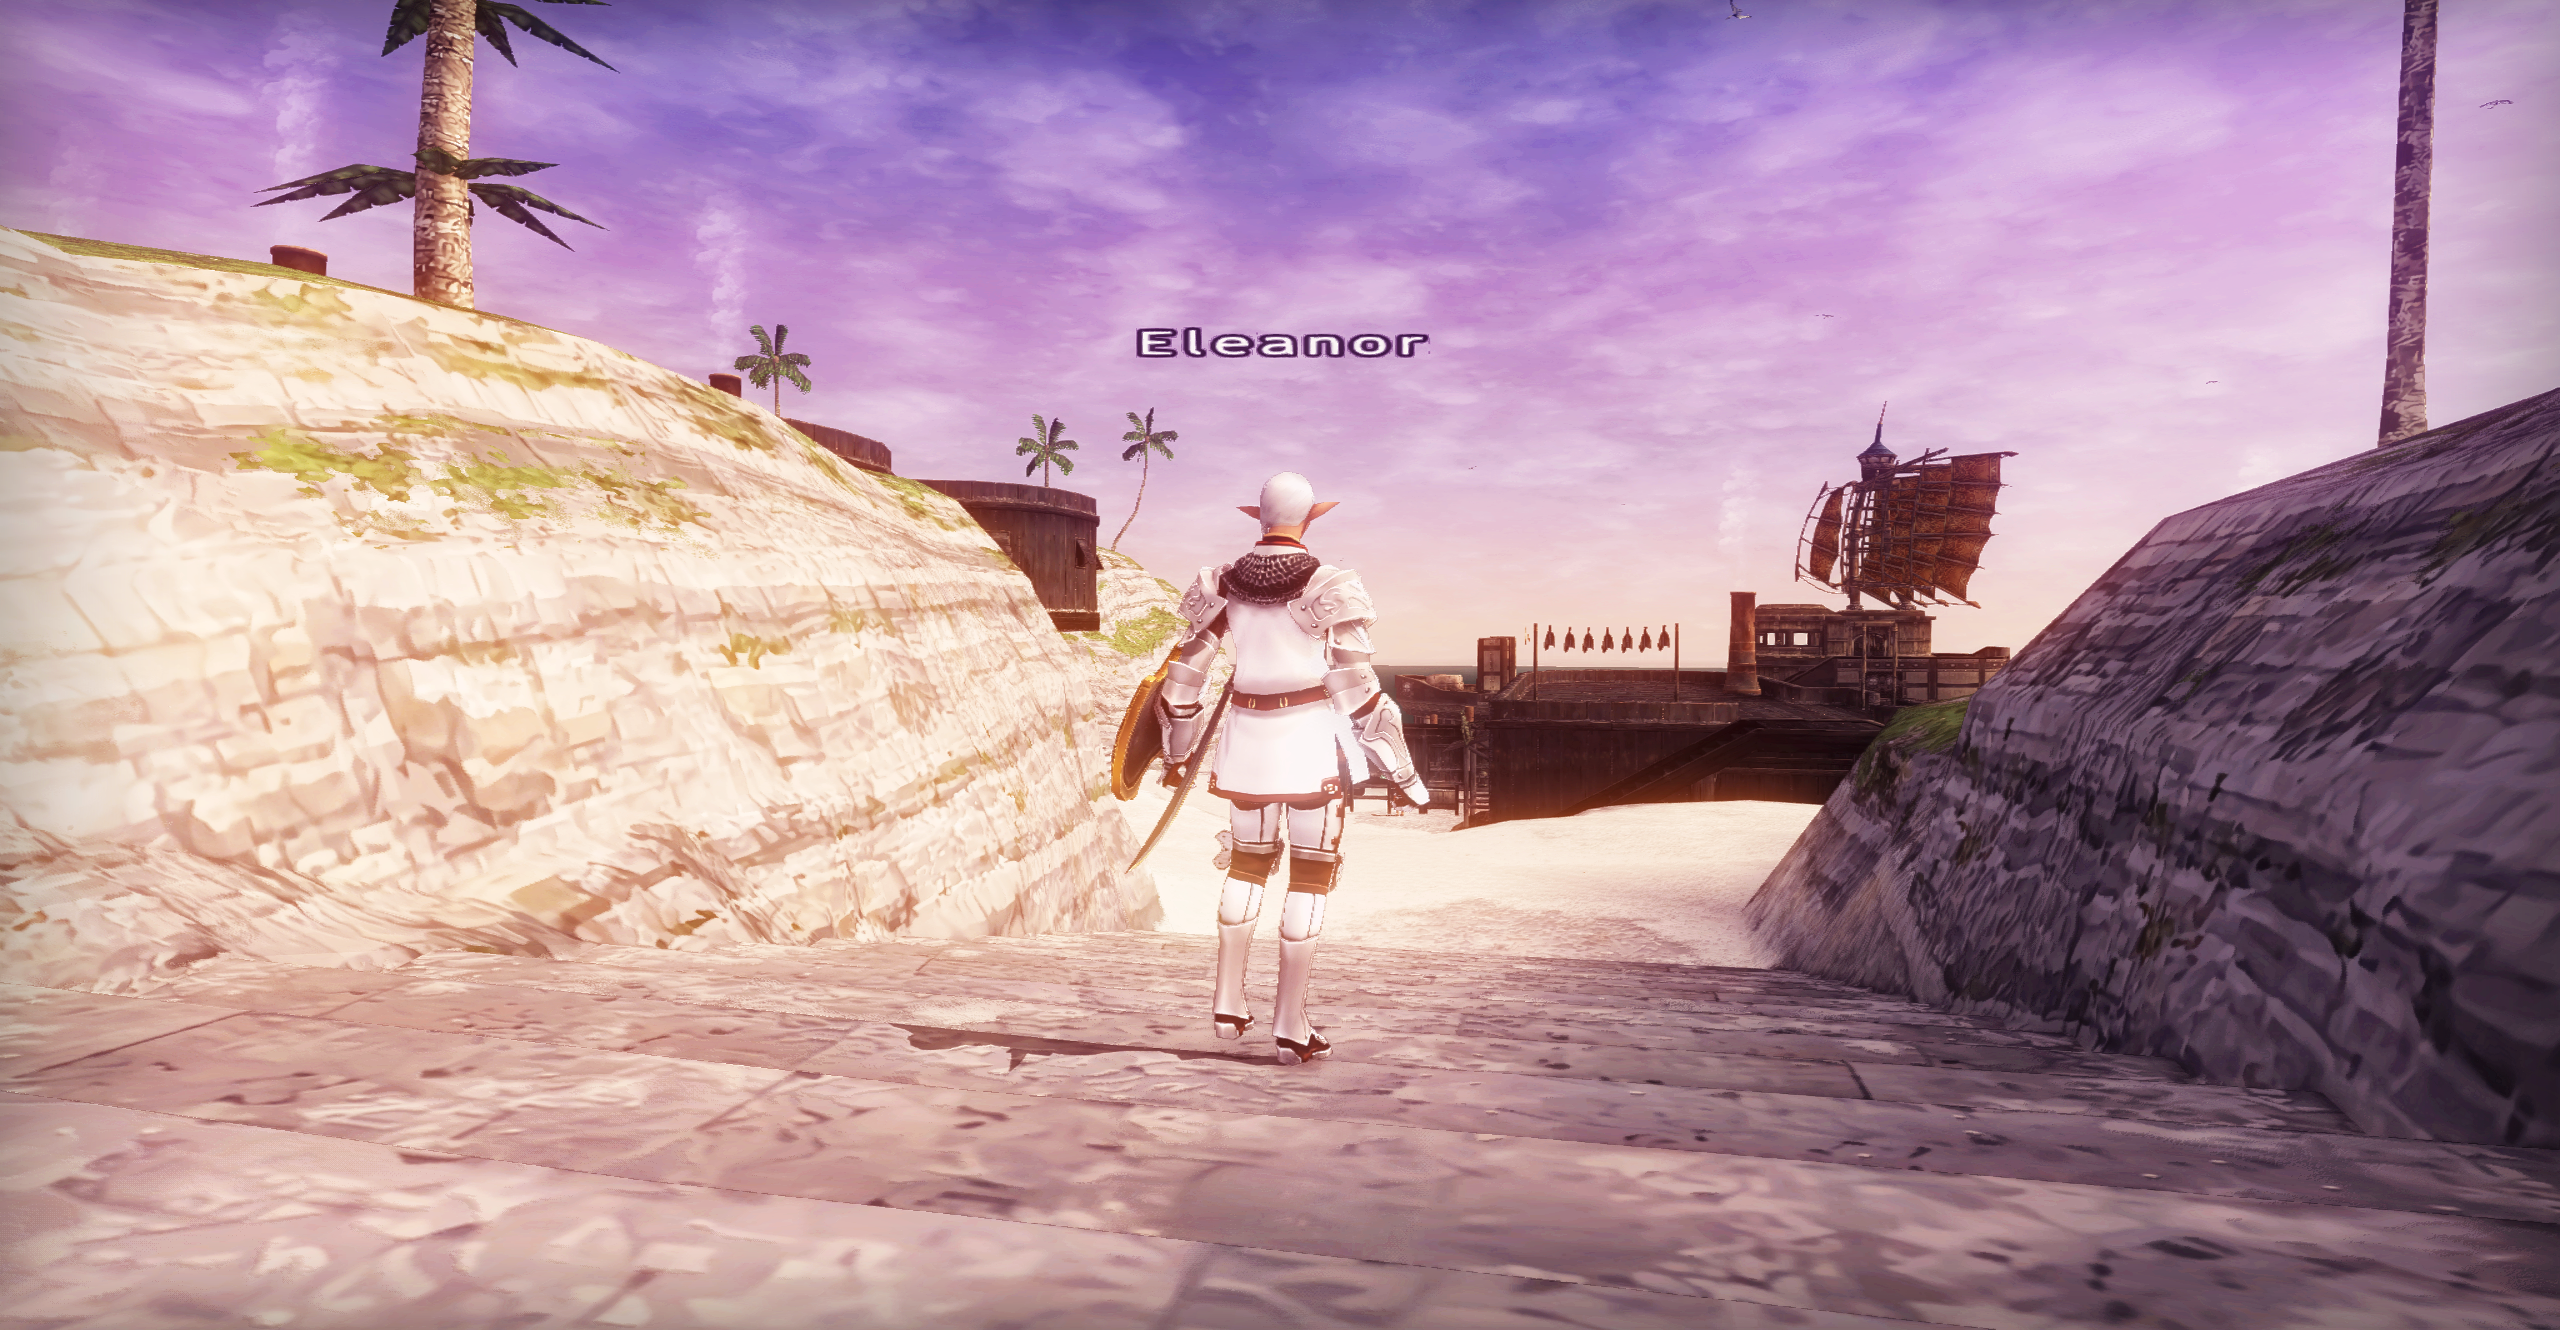
Down here you can see some examples of comparison between No ReShade and ReShade On with this second preset. If you want to see more samples from different areas you can take a look here.


Preset 3
(High-end GPUs and perfectionism)
The third preset is pretty much a Preset 2 on steroids when it comes to light and shadows effects. It’s mostly a further tweak of the same effects discussed in Preset 2 with the addition of few others.
Here’s the full list:
- qUINT_ssr.fx
- NGLighting.fx
- GloomAO.fx
- IMMERSE MartysMods_MXAO.fx
- qUINT_mxao.fx
- FakeHDR.fx
- Depth_Cues.fx
- Tonemap.fx
- DPX.fx
- BloomingHDR.fx
- PD80_02_Bloom.fx
- MagicHDR.fx
- Vibrance.fx
- LumaSharpen.fx
- Technicolor2.fx
- DLAA_Plus.fx
- PD80_02_Cinetools_LUT.fx
- LocalContrastCS.fx
- Sepia.fx
- ArtisticVignette.fx
- FXAA.fx
- prod80_04_ContrastBrightnessPD80_04_Contrast_Brightness_Saturation.fx
- prod80_04_ContrastBrightnessPD80_04_Contrast_BrightnessSaturation2.fx
The idea with this preset was to create a multi-layered version of certain effects such as bloom and AO.
The limitation with those effects is that that you cannot have an arbitrary set of combinations of scale vs. strength of the effect… Therefore, the only way I could figure to adjust the intensity of effects at different scales was to stack multiple effects of the same type. Obviously, this comes at a cost in terms of performance if you are not using a high-end GPUs. However, the appeal of light and shadows affecting the final frame with much more control on the result can definitely be worth the trouble.
In my opinion, this preset gives much more life to how light behaves and, while not free of arguably negative impact on the gameplay (you literally can’t see much at night in certain caves!), it rewards the player with much more interesting sights in open environment as well as more “up-to-date” look on some game effects such as skills, spells and abilities.
Important! (don't skip this 🙏)
To properly be able to use this preset (but thiscan also apply to the previous ones!), you should definitely catch up with a previous post where I explain the wonders of the ShaderToggler plugin for ReShade (link here). Please be aware that, as explained in the post, this requires the use of the unsigned version of ReShade (available from the official website as the “full add-on support” version). This can cause troubles with online games with anti-cheat software that usually whitelist the signed version of ReShade with no add-ons support. Please check beforehand the policy of the game you are wishing to use this version on!
Way less problematic is the mandatory use of depth map data for some of the effects. To enable the depth-map data, go to the ReShade add-on tab, then, look at the Generic Depth add-on.

As you can see from the picture above, the 2048x2048 map is enabled, you’ll know it’s the correct one in FFXI because it’s the one matching the background resolution in your game options.
Unfortunately, this is a manual step required every time you load into the game at least with the built-in plugin.
Download to the updated preset: Click to Download! (Read more about the changes here)
Download to the old preset (not recommended!): Click to Download!
Down here you can see some examples of this third preset. This time, the comparison will be between Preset 2 and this preset. If you want to see more samples from different areas you can take a look here.


Final notes
Maybe..?
I will likely keep tweaking this preset but as of today I’m not planning any major update to it so you can expect this page to stay without new changes for a while. On the other hand, expect more insight on this topic, coming up on the home page in the future. Remember that, being this a research for aesthetics, everything here is very much subjective. For example, I’m pretty sure a good number of people would prefer Preset 2 over Preset 3 and that’s totally reasonable. My only hope is that, if you cared to follow along, you discovered something new that could tickle your curiosity and creativity enough to motivate you in the pursuing of your favouritaru style!
As always, have fun ❤️!